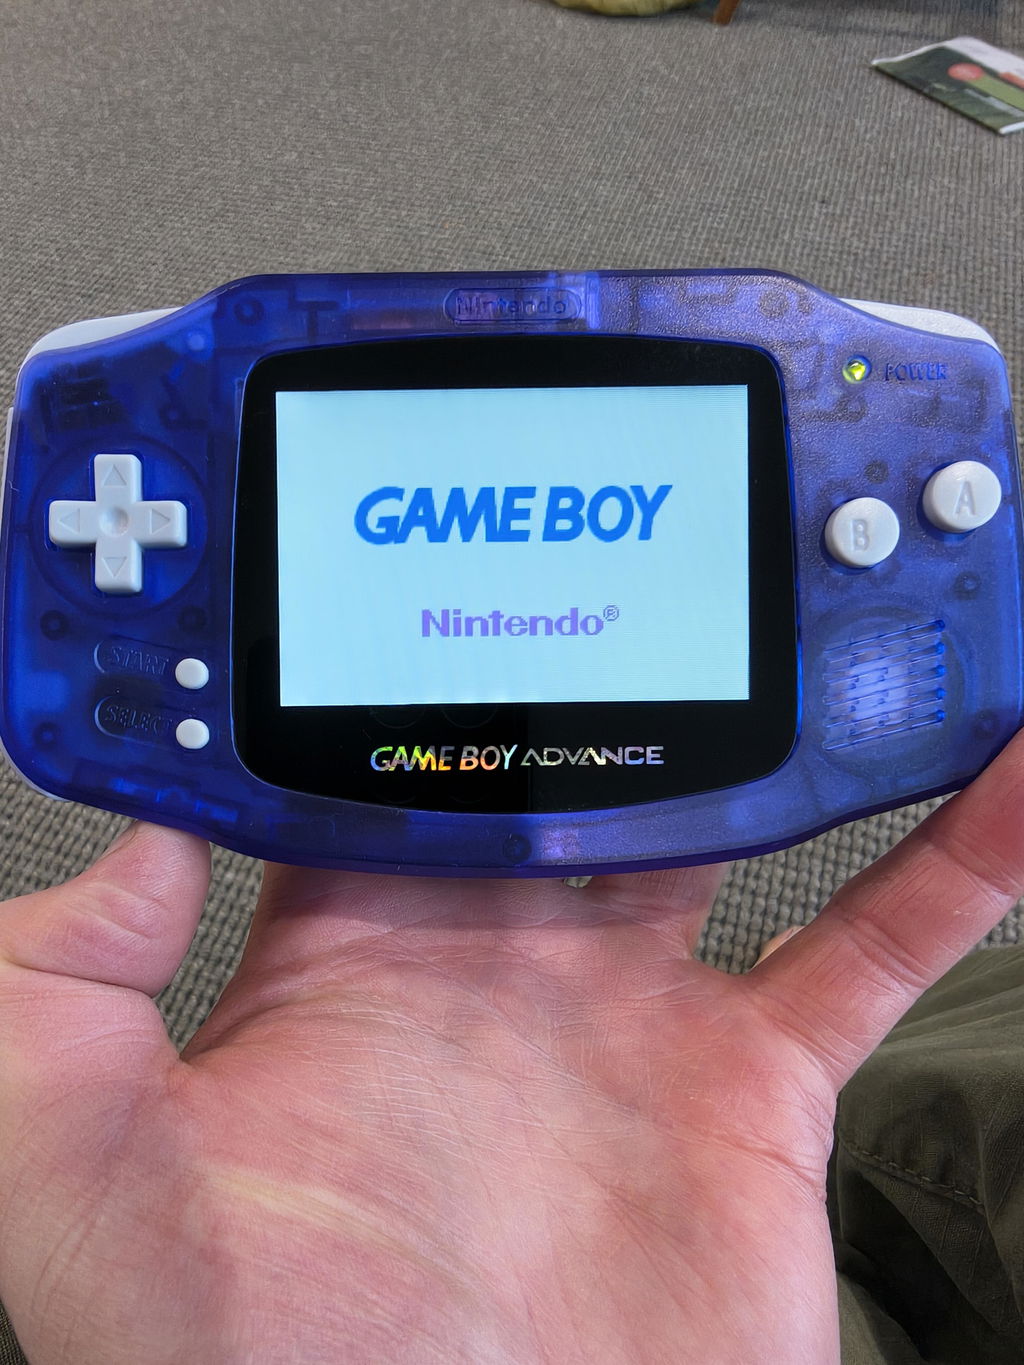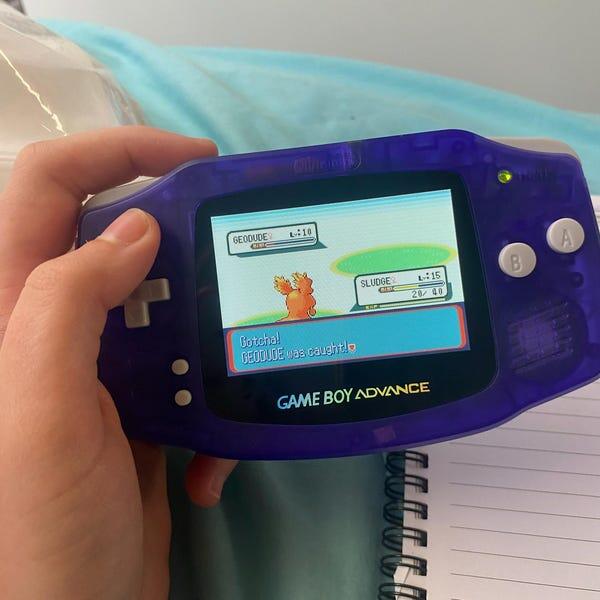

Modding a Game Boy Advance SP yourself is cheaper when your complete parts, tools, delivery and repair total comes below a comparable finished console. Owning a working SP and the required tools makes that comparison more favourable to DIY; buying everything from scratch adds costs that a screen-kit listing leaves out. For your 2026 decision, compare the same finished specification and account for your installation time before choosing.
- Buy modded game boy advance sp vs mod yourself cost: compare complete builds, not a console against a screen kit.
- DIY is best for owners with a working donor, suitable tools and confidence following the chosen kit’s instructions.
- A professionally refurbished SP suits players who want the finished console without doing the installation.
- Retrofit sells refurbished, modded Game Boy Advance SP consoles and offers repair and upgrade services.
Is it cheaper to buy a modded Game Boy Advance SP or mod one yourself?
DIY wins on cost only when the whole build costs less than the equivalent finished SP. A screen kit is not a complete console. Your comparison must include the donor handheld, any necessary repairs, compatible parts, tools you need to buy and delivery.
Start by checking the donor before choosing upgrades. The guide to testing a Game Boy Advance SP before buying secondhand helps you separate a working starting point from a repair project.
| Route | Best for | Main advantage | Main drawback | What belongs in your comparison |
|---|---|---|---|---|
| Mod your existing SP | Owners with a working console and suitable tools | You do not need to acquire another donor | You handle installation, troubleshooting and testing | Parts, missing tools, delivery and necessary repairs |
| Buy a donor and mod it | Enthusiasts who want the build experience | You choose the donor and upgrade specification | Donor condition adds uncertainty before installation | Donor, parts, tools, delivery and repairs |
| Buy a professionally modded SP | Players who want a finished handheld | You avoid carrying out the installation | You do not choose every installation detail yourself | The finished specification, included accessories and purchase terms |
| Commission an upgrade | Owners who want to keep their existing SP | You retain your console without doing the work | The work must suit the donor’s condition | Agreed upgrade scope, repairs and transport |
Do not compare an IPS-only DIY build with a finished console that also has a replacement shell, battery work or charging modification. Either remove those extras from the comparison or add their equivalents to your build plan. Otherwise, you are comparing different outcomes.
Why this matters
A Game Boy Advance SP modification changes part of an existing handheld; it does not automatically restore everything else. A new display does not fix an unreliable power switch, poor button response or a damaged hinge. Those issues belong in the decision before you order parts.
In 2026, the useful question is not simply whether you can install an IPS screen. It is whether you can finish a dependable SP with the features you want for less total expenditure than buying that same result.
Your time also needs a separate decision. Treat DIY as a hobby project if you enjoy disassembly and troubleshooting; treat it as work if your only goal is playing games. Neither approach is wrong, but they produce different definitions of value.
Mod your existing SP: best for a verified working donor
Mod your existing SP when its condition is known and the build itself appeals to you. Keeping a working donor removes the need to acquire another console, while tools you already own remove another purchasing requirement.
Check the console before opening it. Confirm that it starts reliably, reads a known-working cartridge, produces sound, responds to its controls and charges correctly with suitable equipment. Note any existing faults so you do not confuse them with installation problems later.
Next, decide which original parts you want to retain. Keeping a serviceable shell makes a different project from replacing the shell, display and charging hardware together. Follow the selected kit’s instructions rather than assuming every combination fits.
The drawback is responsibility. You choose compatible parts, carry out the installation and determine whether the finished handheld works correctly. If you dislike that process, a lower parts total does not automatically make DIY the better purchase decision.
Buy a donor and mod it: best for the build experience
Buying a donor makes sense when you want to build an SP, not merely avoid buying a finished one. This route adds both the donor acquisition and the task of verifying its condition to your project.
Ask for evidence of operation rather than relying on exterior photographs. A tidy shell does not establish that the cartridge reader, charging circuit or controls work. A damaged display also does not establish that the rest of the motherboard is healthy.
Keep cosmetic damage separate from functional faults. A shell replacement addresses the housing; it does not diagnose a console that will not start. Do not classify an untested handheld as a working donor in your worksheet.
The advantage is control over the project. The drawback is that repairs can expand its scope before the screen upgrade begins. If the donor’s condition remains uncertain, resolve that uncertainty before treating the build as the cheaper route.
Buy a professionally modded SP: best for avoiding installation
Buying a finished SP suits you when you want the upgraded handheld rather than the assembly project. You still need to inspect the specification, but you do not need to perform the screen installation yourself.
Retrofit’s modded Game Boy Advance SP consoles suit Australian players who want a professionally refurbished handheld rather than a DIY installation project. The business also offers repair and upgrade services, making a service enquiry relevant if you already own an SP you want to keep.
Check the individual console’s details. Confirm the display specification, charging arrangement, refurbishment scope and included accessories instead of assuming every edition has identical hardware. IPS V5 screens and USB-C charging describe separate features, not interchangeable upgrades.
The trade-off is less control over the installation process. A finished build also includes work beyond supplying loose parts, so comparing it only with a display kit misrepresents what you are buying. Read the current purchase terms before deciding what support matters to you.
Commission an upgrade: best for keeping your own SP
An upgrade service is a separate route, not simply another name for buying a completed console. You supply the handheld and agree on the work to be carried out. That distinction matters if your SP has sentimental value or you want to retain particular original parts.
Ask for the repair and upgrade scope separately. A display replacement, shell replacement and charging modification are different jobs, and the donor’s condition determines what else needs attention.
The advantage is keeping your console without carrying out the installation. The limitation is that a service cannot be compared fairly until its scope is clear. Confirm what happens if inspection reveals faults outside the requested upgrade before authorising work.
How to compare buying and DIY in 2026
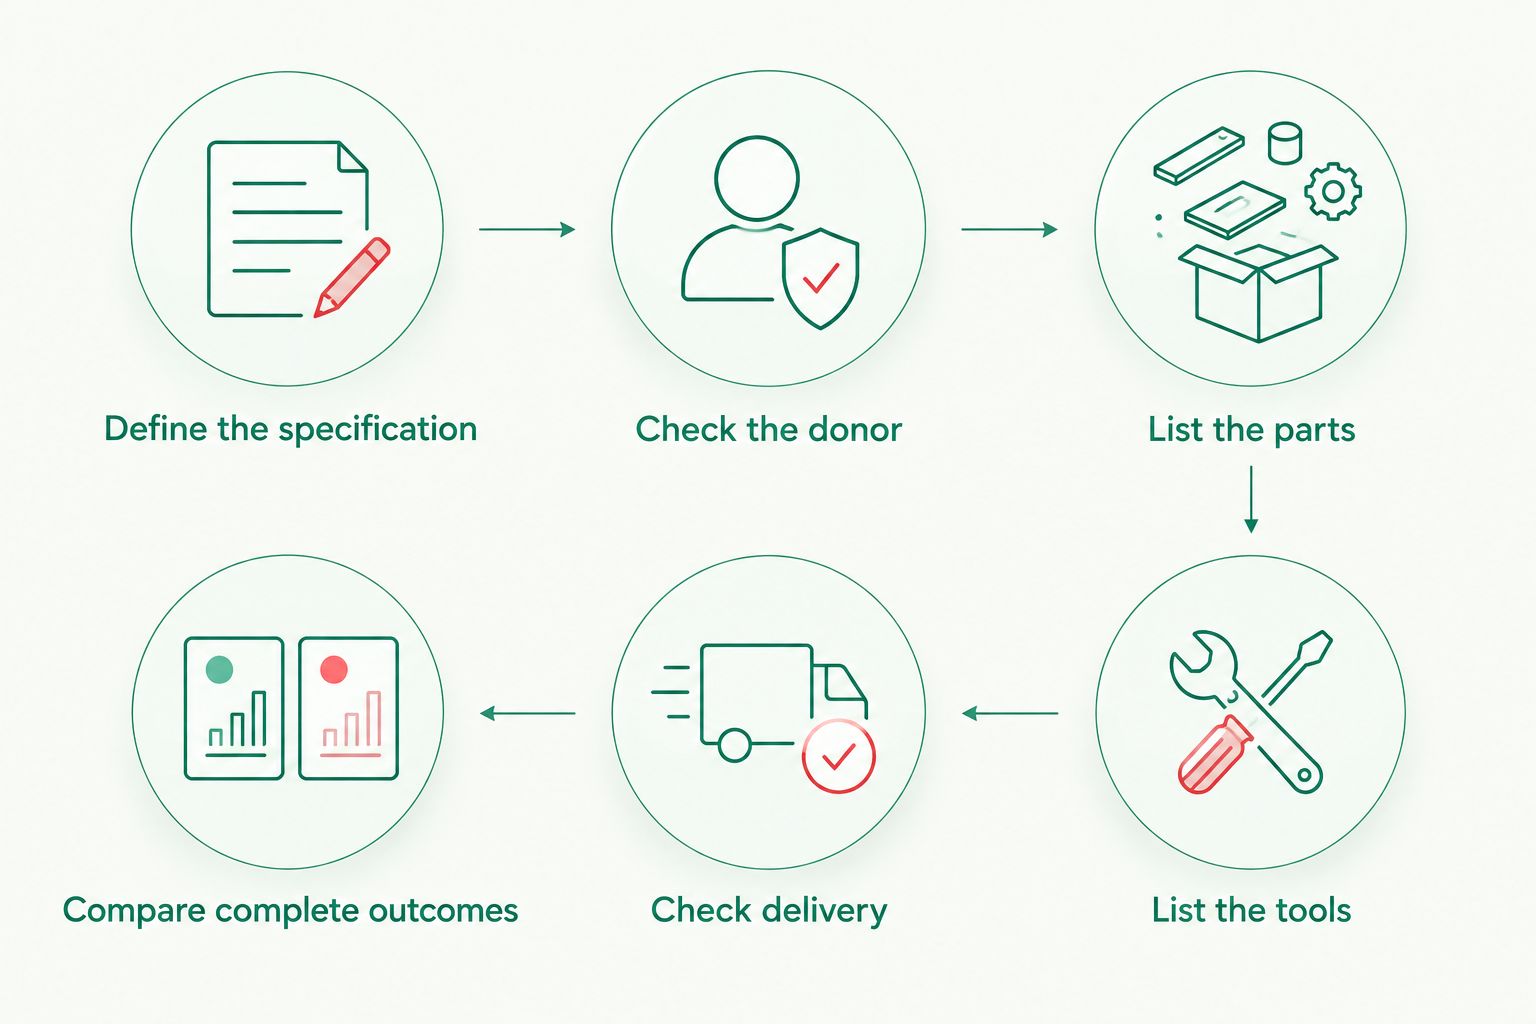
Use a build worksheet before ordering anything. Keep your desired result at the top, then enter the actual components and tasks needed to achieve it. This prevents an attractive kit listing from becoming the entire budget.
- Define the specification. Write down the display, shell and charging arrangement you want. Include battery work only if it belongs in the project.
- Check the donor. Record whether you already own a working SP, need to buy one or need an existing fault diagnosed.
- List the parts. Use the chosen kit’s compatibility and installation instructions to identify the required components.
- List the tools. Include equipment you genuinely need to acquire, not tools you already own.
- Check delivery. Include the actual delivery charges attached to the parts and donor you intend to purchase.
- Compare complete outcomes. Put the completed DIY build beside a finished console or service with the same agreed specification.
Keep installation time outside the cash total unless you deliberately assign it a value. That gives you a clear view of expenditure without pretending your hobby time is automatically free or automatically a business expense.
Do not add an invented failure allowance. Instead, ask a practical question: can you complete the project if a part is damaged or the donor needs further diagnosis? If not, pause before opening the console or ordering an uncertain combination of parts.
Why the total varies
Your 2026 comparison changes with the starting hardware and the work required. These are the main drivers to record:
- Donor condition: A verified working SP and an untested repair project are not equivalent starting points.
- Display choice: Check the selected screen kit’s compatibility, supplied components and installation requirements.
- Shell condition: Retaining a serviceable housing is a different scope from replacing it and transferring the internal components.
- Charging scope: USB-C charging is a separate modification; do not assume it follows automatically from an IPS installation.
- Tools and experience: Equipment you need to acquire belongs in the cash comparison, while unfamiliar installation work belongs in your time assessment.
- Repair and delivery requirements: Record known faults and actual delivery charges before deciding which route costs less.
Avoid adding upgrades because they appear in a finished console you are considering. First decide whether you want them. A narrower build can meet your needs without matching every cosmetic or charging feature of another handheld.
What should you check before calling a DIY build finished?
A successful first power-on is only the beginning of testing. Check the display, controls, sound, cartridge reading, charging behaviour and hinge movement after reassembly. Compare those results with the donor’s behaviour before the modification.
Look for assembly issues as well as electronic faults. Confirm that controls move freely, the shell closes correctly and the screen ribbon is routed according to the kit instructions. Stop if the housing needs force to close; investigate the fit instead of tightening it harder.
Test the features you changed. Follow the kit’s instructions for display controls and the charging hardware’s instructions for power compatibility. Do not infer support for a charger solely from the shape of its connector.
For your 2026 decision, this testing is part of the DIY workload. Buying a professionally refurbished console avoids doing the installation, but you should still confirm its operation when you receive it.
Is DIY still cheaper if I already own the console?
Owning the console removes a donor purchase from the build, but it does not guarantee that DIY costs less overall. Include the parts, missing tools, delivery and any necessary repair work, then compare the same finished specification.
Treat the existing SP as usable only after checking it. An owned console with unresolved faults is still a repair project, even if you paid for it long ago.
Does an IPS screen upgrade include USB-C charging?
An IPS screen upgrade and USB-C charging are separate modifications. Verify the contents and instructions of the selected kit or the specification of the finished console rather than assuming both are included.
Keep them on separate lines in your comparison. That makes it clear whether you are choosing display-only work or a broader upgrade.
Should I modify an original SP I want to collect?
Keep an SP unmodified if preserving its original configuration is your priority. A modern display or replacement shell changes that configuration, even when the console remains useful for playing cartridges.
Separate your playing handheld from your preservation goal. You do not need to modify a particular original console simply because you want an upgraded SP for everyday use.
FAQ
What’s the cheapest way to get a modded Game Boy Advance SP?
The cheapest route is the one with the lower complete total for the same finished specification. Compare the donor, parts, missing tools, delivery and necessary repairs rather than comparing a screen kit with a whole console.
Is modding my own Game Boy Advance SP better than buying one?
DIY is better suited to you if you want the installation experience and can follow the selected kit’s instructions. Buying a finished SP suits you if your priority is using the upgraded handheld without carrying out the work.
Can I install an SP screen without soldering?
The selected kit’s instructions determine whether its installation requires soldering. Check the requirements for every feature you want rather than treating all SP screen kits as identical.
Do I need a new shell for an IPS screen modification?
Shell requirements depend on the selected display kit and the housing you intend to use. Confirm compatibility before ordering, and do not assume a replacement shell fits every screen.
Should I buy a broken SP to save on my build?
Buy a broken donor only if you understand the fault and accept the repair work it requires. A screen replacement does not establish that unrelated power, charging or cartridge-reading faults are resolved.
Does Retrofit offer an alternative to installing the mods myself?
Retrofit sells professionally refurbished and modded Game Boy Advance SP consoles and offers repair and upgrade services. Check the individual console or agree on the service scope before comparing it with your DIY plan.
How do I compare Australian and imported parts in 2026?
Compare the actual checkout totals and the same compatible components. Include delivery and any applicable charges shown for your purchase, and check the seller’s current terms.
One last thing
The best donor is not necessarily the console with the nicest shell. A shell is a component you can plan around; an unexplained functional fault changes the project before the upgrade starts.
Before committing to a 2026 build, write down what already works, what needs repair and what you actually want to change. If you cannot separate those categories, diagnose the donor first. That decision protects the comparison from becoming a parts order followed by an unexpected repair project.