
Yes, a Game Boy Advance SP with a broken volume control can be repaired, provided the surrounding circuit board is repairable. The SP uses a volume slider, not a volume wheel; fixing it involves identifying whether the fault is mechanical, inside the slider’s potentiometer, or elsewhere in the audio circuit. Replacing the soldered control requires board-level soldering, while shell interference or dirty contacts need a different approach.
- Game Boy Advance SP volume wheel repair means repairing the SP’s volume slider, not a rotary wheel.
- Nintendo Game Boy Advance SP volume faults require diagnosis before replacing the slider or speaker.
- A physically broken potentiometer needs replacement; cleaning cannot restore broken parts.
- Choose professional board-level repair if you lack experience removing soldered components.
Can a Game Boy Advance SP be repaired if the volume wheel breaks?
Yes. A broken volume slider does not automatically mean replacing the entire console. The repair depends on the control, its solder joints and the condition of the motherboard underneath it.
For an Australian repair enquiry in 2026, Retrofit offers Game Boy Advance and GBA SP repair and upgrade services. Describe the symptom before requesting a particular replacement: a slider that jams and a console that produces no sound are not the same diagnosis.
Use this sequence to establish the repair scope:
- Confirm the control. Check that you have a Game Boy Advance SP with a sliding volume adjustment, rather than the original Game Boy Advance with a rotary wheel.
- Record the symptom. Note whether the slider is stiff, loose, missing, crackling or unable to change the sound level.
- Check the audio. Use a known-working cartridge with audible gameplay and move the slider gently through its normal travel.
- Inspect before replacing. Have the shell clearance, control mechanism, solder joints and audio circuit checked.
- Repair and retest. Verify that sound adjusts correctly after reassembly, not just while the board sits outside the shell.
Do not force a jammed slider. Additional pressure can turn a mechanical obstruction into damage to the control or its board connections.
Why this matters
Searching for “game boy advance sp volume wheel repair” can lead you to instructions for the wrong handheld. The original Game Boy Advance and the Game Boy Advance SP use different physical volume controls, so a replacement chosen only because it says “GBA” is not enough.
A silent SP also does not prove that its slider is broken. The speaker, its contacts and the audio circuitry belong in the diagnosis.
Match the repair to the fault, not to the search phrase. That avoids replacing a working control while leaving the actual problem untouched.
Mechanical obstruction: check the shell and slider movement
A slider that catches against the shell needs a mechanical inspection before an electrical repair. Look for an obvious obstruction around the opening, a displaced actuator or an issue that began immediately after a shell replacement.
Keep the console switched off while inspecting the exterior. Remove only loose surface debris with a soft, dry brush; do not push a metal tool into the opening or pour cleaner through it.
If the slider moves normally with the housing removed but catches after reassembly, investigate shell clearance and assembly alignment. Replacing the potentiometer does not resolve a housing that obstructs its travel.
Best for: a control that became stiff after a shell change or has an obvious physical obstruction. The limitation is access: internal inspection requires disassembly and care around the board and display connections.
Dirty contacts: cleaning is not a repair for broken parts
Crackling or sound that cuts in and out while you move the slider warrants inspection of the potentiometer and its connections. Dirty or worn electrical contacts can produce similar symptoms, so the sound alone does not distinguish them.
A technician can assess whether cleaning with an appropriate electronics contact cleaner is suitable. Cleaning must target the component, follow the cleaner’s instructions and happen with power disconnected.
Do not spray a general-purpose lubricant into the console. Do not treat rubbing alcohol poured through the shell opening as a substitute for controlled access to the part.
Best for: an intact control whose inspected contacts need cleaning. The drawback is clear: cleaning cannot restore a cracked mechanism, worn resistive track or detached solder connection, and an improvement does not prove the part is structurally sound.
Broken potentiometer: replace the soldered control
When the potentiometer itself is physically broken or electrically defective, replacement is the appropriate repair. The component is attached to the motherboard; it is not an external knob that simply pulls off and pushes back on.
Removing it requires controlled desoldering without tearing the board’s solder pads. The replacement must match the SP’s mechanical fit and electrical requirements, rather than merely resemble the original control.
After installation, the technician should check the joints under magnification, confirm that the slider moves freely and test volume adjustment. Reassembly is part of that test because the shell must not press against or obstruct the control.
Best for: a confirmed failed potentiometer on an otherwise repairable board. The drawback is the risk of board damage from poor removal technique; this is not a suitable first soldering project.
Damaged connections: assess the motherboard first
A control knocked away from the board can damage more than the component. Lifted pads, broken traces or cracked joints need inspection before a replacement is installed.
A missing solder pad does not establish that the whole motherboard is beyond repair. It does change the work required: the technician must determine what connection was lost and whether a sound electrical and mechanical repair is possible.
Do not glue the slider down and assume the connection is restored. Adhesive does not replace an electrical connection, and uncontrolled glue can obstruct the mechanism or complicate later work.
Best for: a specialist assessment after impact damage or an unsuccessful repair attempt. The limitation is board condition: replacing the slider alone is insufficient when the underlying connections are damaged.
Which repair approach fits the symptom?
For a Game Boy Advance SP repair in 2026, choose the approach after inspection, not from a symptom description alone. This comparison separates the work each approach addresses from its limitations.
| Approach | Best for | Advantage | Limitation |
|---|---|---|---|
| Mechanical inspection | Stiff travel or trouble after a shell change | Identifies obstruction without assuming an electrical failure | Does not repair damaged internal contacts |
| Contact cleaning | Intact contacts assessed as dirty | Addresses contamination without replacing a sound component | Does not fix wear, cracks or broken connections |
| Component replacement | Confirmed failed potentiometer | Replaces the defective control | Requires suitable parts and controlled soldering |
| Board repair | Lifted pads, broken traces or damaged joints | Addresses connections beneath or beside the control | Scope depends on the board’s condition |
These approaches are not interchangeable. Inspection can reveal that a console needs both a replacement control and connection repair, or that the control works and the speaker path needs attention instead.
Why Game Boy Advance SP volume repair varies
The repair scope comes from the condition of the individual console. These factors determine what needs attention:
- Physical damage: a cracked actuator requires different work from a slider obstructed by the shell.
- Contact condition: contamination and component wear need to be distinguished before choosing cleaning or replacement.
- Solder joints: loose or fractured connections can interrupt operation even when the control mechanism remains intact.
- Board condition: lifted pads, corrosion and damaged traces add work beyond replacing the component.
- Previous modifications: altered shells, wiring and earlier soldering work need inspection around the repair area.
- Other audio faults: speaker or circuit problems require separate diagnosis rather than automatic slider replacement.
Ask for the diagnosed fault and proposed work in writing. A useful repair description identifies the failed part or connection and explains how the finished console will be checked.
What should you check before sending the SP for repair?
You can document the problem without opening the console. In 2026, clear photographs and a short recording remain useful ways to show a repairer a fault that is difficult to describe.
Identify the console
Check the model marking on the housing. The original SP models include AGS-001 and AGS-101; tell the repairer what the label says, and disclose any known screen, charging or shell modifications.
A replacement shell can make the exterior label an imperfect guide to the board inside. Do not claim a particular internal configuration solely from its appearance.
Demonstrate the symptom
Use a known-working game with sound enabled. Compare 3 slider positions: low, middle and high, moving the control gently rather than repeatedly forcing it between the ends.
Record whether the sound level changes, disappears at particular positions or crackles only during movement. These observations help a technician reproduce the fault; they do not establish which component has failed.
Explain when it started
Tell the repairer whether the fault followed a drop, spill, shell swap or previous repair attempt. Include whether audio previously worked normally and whether the control now feels different.
Avoid opening the console just to obtain a photograph of the board if you are unfamiliar with disassembly. A useful exterior symptom record is better than damage caused while preparing an enquiry.
How should the repaired volume control be tested?
Test volume adjustment after the console is fully reassembled. A working control on an exposed board is not the whole result if the finished shell interferes with movement.
The check should establish smooth physical travel, audible volume adjustment and no intermittent dropout when the control moves normally. The console’s other functions should also be checked after the work.
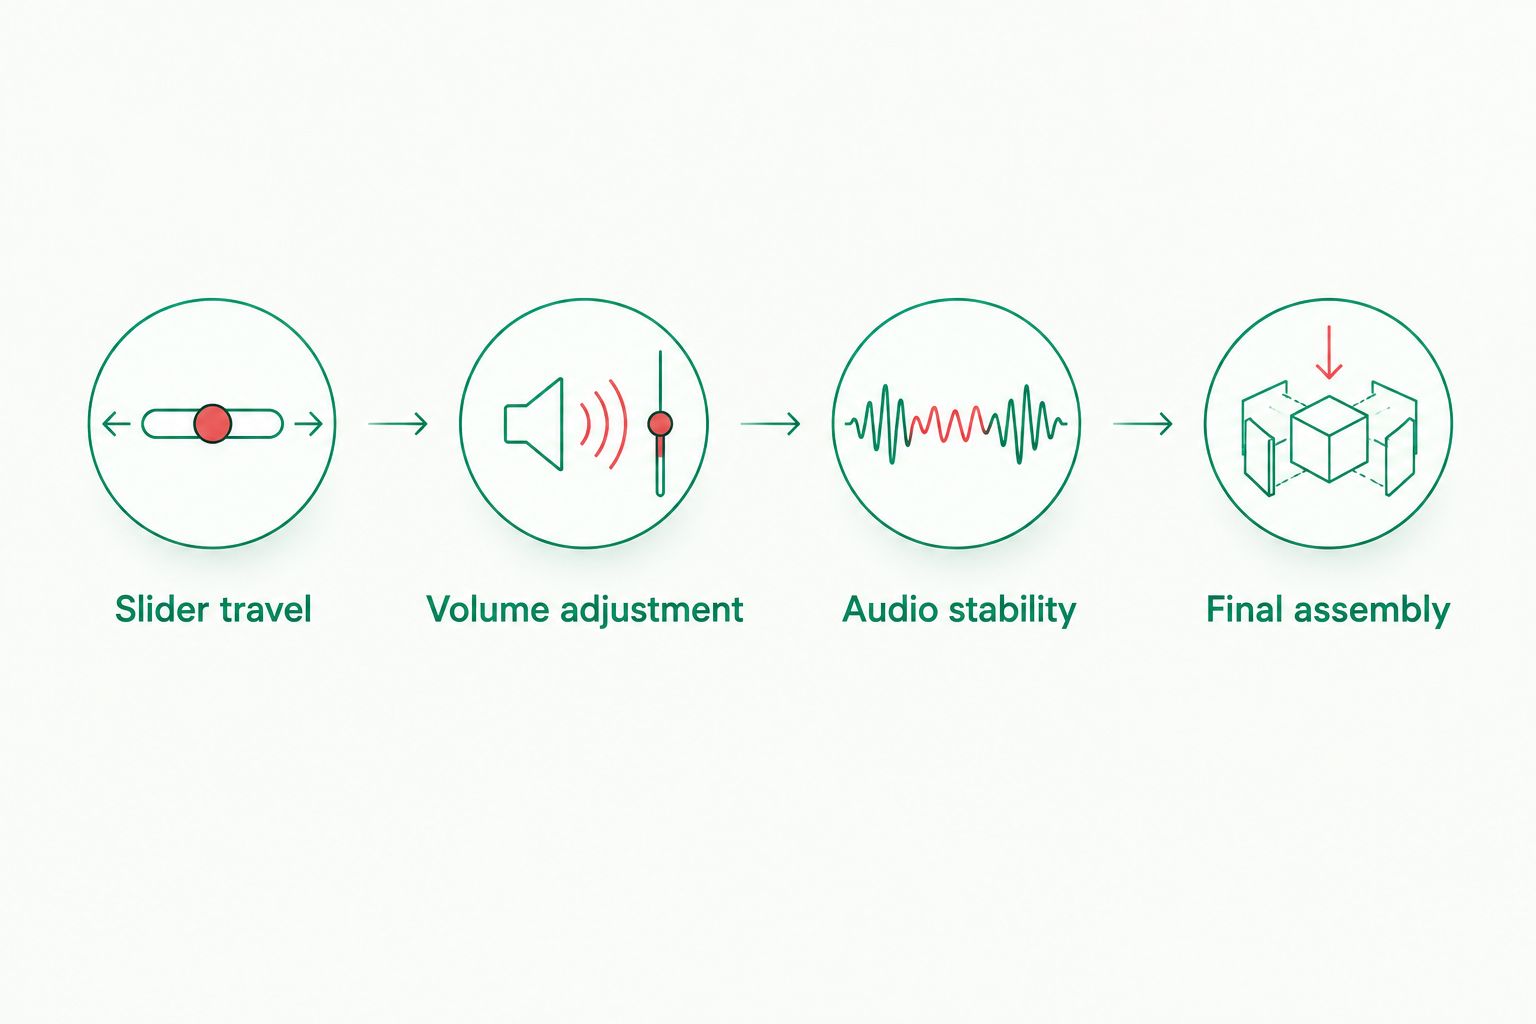
Use the same game and audible passage when comparing the before-and-after behaviour. Keep the listening conditions similar so background noise does not conceal an intermittent fault.
A repaired slider should adjust sound predictably within its normal operating range. It should not require sideways pressure, repeated nudging or holding the shell in a particular position.
Can I repair the Game Boy Advance SP volume slider myself?
You can perform exterior checks yourself, but replacing the SP volume slider requires board-level soldering skills. Choose professional repair if you have not removed small soldered components without damaging pads.
The difficult part is not simply melting solder. It is removing the failed component without applying destructive force, fitting a compatible replacement and confirming that the surrounding circuit remains intact.
Retrofit is best for Australian Game Boy Advance owners seeking repair and upgrade services rather than a DIY-only approach. Professional repair still requires diagnosis; a description of “no sound” is not enough to specify a slider replacement.
Does a broken volume slider mean the speaker needs replacing too?
A broken volume slider does not automatically require a new speaker. The technician should test the control and speaker path separately before deciding which parts need replacement.
If the slider moves normally but there is no sound, report that distinction. Replacing both parts without diagnosis adds work without establishing the cause.
Will an IPS screen upgrade fix the volume problem?
An IPS screen upgrade does not replace or repair the SP’s volume control. Display work and audio work address different parts of the console.
If you want both jobs done in 2026, request them as separate items. Retrofit offers Game Boy Advance repair and upgrade services, but the volume fault still needs its own diagnosis and post-repair audio check.
FAQ
Can a Game Boy Advance SP volume wheel be replaced?
Yes, the SP’s volume control can be replaced, but it is a slider rather than a wheel. Replacing its potentiometer requires desoldering the old component and fitting a compatible replacement to the motherboard.
Why does my Game Boy Advance SP crackle when I change the volume?
Crackling during volume adjustment calls for inspection of the potentiometer and its connections. Dirty contacts, wear and connection faults need to be distinguished before choosing cleaning or replacement.
Can I fix an SP volume slider without soldering?
Mechanical obstruction or suitable contact cleaning does not necessarily require soldering, but replacing the soldered potentiometer does. The correct method depends on the diagnosed fault.
Should I force a stuck Game Boy Advance SP volume slider?
No, do not force a stuck volume slider. Inspect for obstruction and seek internal assessment if it remains jammed, because pressure can damage the control or its connections.
Does no sound mean my Game Boy Advance SP volume control is broken?
No, silence alone does not identify a broken volume control. The speaker, its contacts and the audio circuit also need checking.
Can a modded Game Boy Advance SP still have its volume slider repaired?
Yes, a modded SP can still be assessed for volume-slider repair. Tell the technician about shell, display, charging and wiring changes so the repair accounts for the actual configuration.
What should I ask an Australian SP repairer in 2026?
Ask the repairer to identify the failed part or connection and describe the proposed repair. Confirm that audio adjustment will be checked after the console is fully reassembled.
One last thing
Check the slider again after the shell goes back on. A control that works before reassembly but jams afterwards points back to clearance or alignment, not a completed repair.
For your 2026 repair enquiry, give Retrofit the symptom, the console’s known modifications and the circumstances in which the fault began. Request a volume-control diagnosis before authorising a component replacement.