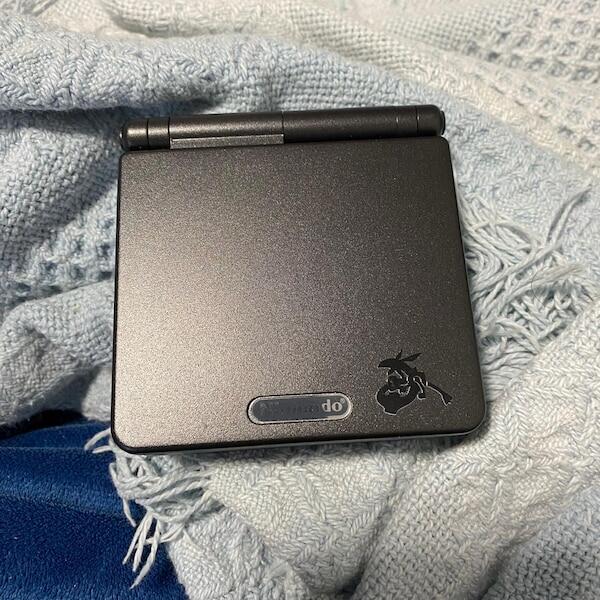

Yes, a Game Boy Advance SP’s worn shoulder buttons can be replaced, including the external plastic buttons and the soldered switches underneath them. The important distinction is whether the fault sits in the button mechanism, the electrical switch or the motherboard connection; replacing the plastic alone will not repair a failed switch. This 2026 guide explains how to identify the fault, choose the right repair and check the result.
- To replace worn shoulder buttons Game Boy Advance SP owners must distinguish plastic damage from a failed soldered switch.
- Game Boy Advance SP switch replacement requires soldering; plastic button replacement does not.
- A clicking shoulder button can still have an electrical fault.
- Retrofit offers Game Boy Advance SP repair services for owners who want professional help.
Can a Game Boy Advance SP’s worn shoulder buttons be replaced?
Yes. Game Boy Advance SP shoulder buttons are repairable, but the replacement part must match the failed component. Each external shoulder button operates a small switch on the motherboard. The plastic actuator, return mechanism and electrical switch perform different jobs.
Start with the checks in the secondhand Game Boy Advance SP testing guide. Confirm that the game actually uses the shoulder input before deciding that the console is faulty.
| Repair route | Best for | Main benefit | Main limitation |
|---|---|---|---|
| Clean and reseat the mechanism | Dirt or a displaced button mechanism | Keeps serviceable original parts | Does not repair a worn electrical switch |
| Replace the plastic shoulder button | Cracked, damaged or poorly fitting plastic | Restores the physical actuator | Does not fix failed switch contacts |
| Replace the motherboard switch | An electrically faulty switch | Repairs the component that registers input | Requires soldering and careful board handling |
| Repair the board connection | Damaged solder joints, pads or traces | Addresses faults beyond the switch itself | Requires diagnosis and board-repair skills |
A replacement shell is not automatically a shoulder-button repair. It changes the housing and sometimes the external buttons, but the original motherboard switches remain unless they are separately replaced.
Why this matters
A shoulder button that misses presses changes how your games play. It also makes diagnosis frustrating: a button can feel normal while failing electrically, or feel sticky even though its switch still works.
Identify the failed layer before ordering parts. A cosmetic button set, a shell and a soldered switch are not interchangeable solutions. Buying the wrong component leaves the original fault in place and adds unnecessary disassembly.
For a repair decision in 2026, separate the symptom from the appearance. Scratched plastic does not prove that the switch is worn, and a clean-looking console does not prove that its inputs work.
Plastic shoulder buttons: mechanical replacement
The external L and R buttons are the parts your fingers touch. They transfer pressure to the switches beneath them, while the return mechanism brings them back after release.
Inspect the plastic for cracks, damaged pivot points and wear where it presses against the switch. Check that the button sits correctly in the housing and moves without scraping or catching. A misaligned mechanism needs correction, not necessarily a new electrical switch.
Plastic-button replacement is best for visible mechanical damage. It does not require soldering by itself, but it does require opening the console and keeping the small mechanism parts correctly positioned.
The limitation is straightforward: new plastic cannot restore a switch whose internal contacts no longer register presses. If the external button moves normally but the game misses input, investigate the electrical side before replacing the housing.
Motherboard switches: soldered replacement
The motherboard switch is the electrical component activated by the shoulder button. Its internal contacts register the press; the external plastic merely operates it.
A failed switch can be replaced by removing it from the board and fitting a compatible replacement. This is soldering work, not a drop-in button swap. The replacement must match the SP’s mounting arrangement and actuator position, not just resemble the old component.
Switch replacement is best for a confirmed electrical switch fault. It preserves the rest of the console when the surrounding board is sound. The disadvantage is the risk of damaging solder pads or nearby components during removal and installation.
An audible click is not proof of electrical continuity. If you lack experience removing small soldered components, use a repair service rather than making the console your practice board.
Board connections: diagnose before replacing the switch
A dead shoulder input is not always caused by the switch itself. A damaged joint or interrupted board connection can prevent a working switch from reaching the console’s input circuitry.
Look for evidence of corrosion, previous repair work or physical damage around the switch. Inspection helps identify where to test, but it does not replace electrical diagnosis. A technician can distinguish a faulty switch from a damaged connection using appropriate continuity checks.
Board repair is best for a confirmed connection fault. Replacing the switch without addressing that fault leaves the button unresponsive. This repair also carries more diagnostic uncertainty than replacing visibly broken plastic, so the work should follow the fault rather than a parts list.
How do you diagnose a worn GBA SP shoulder button?
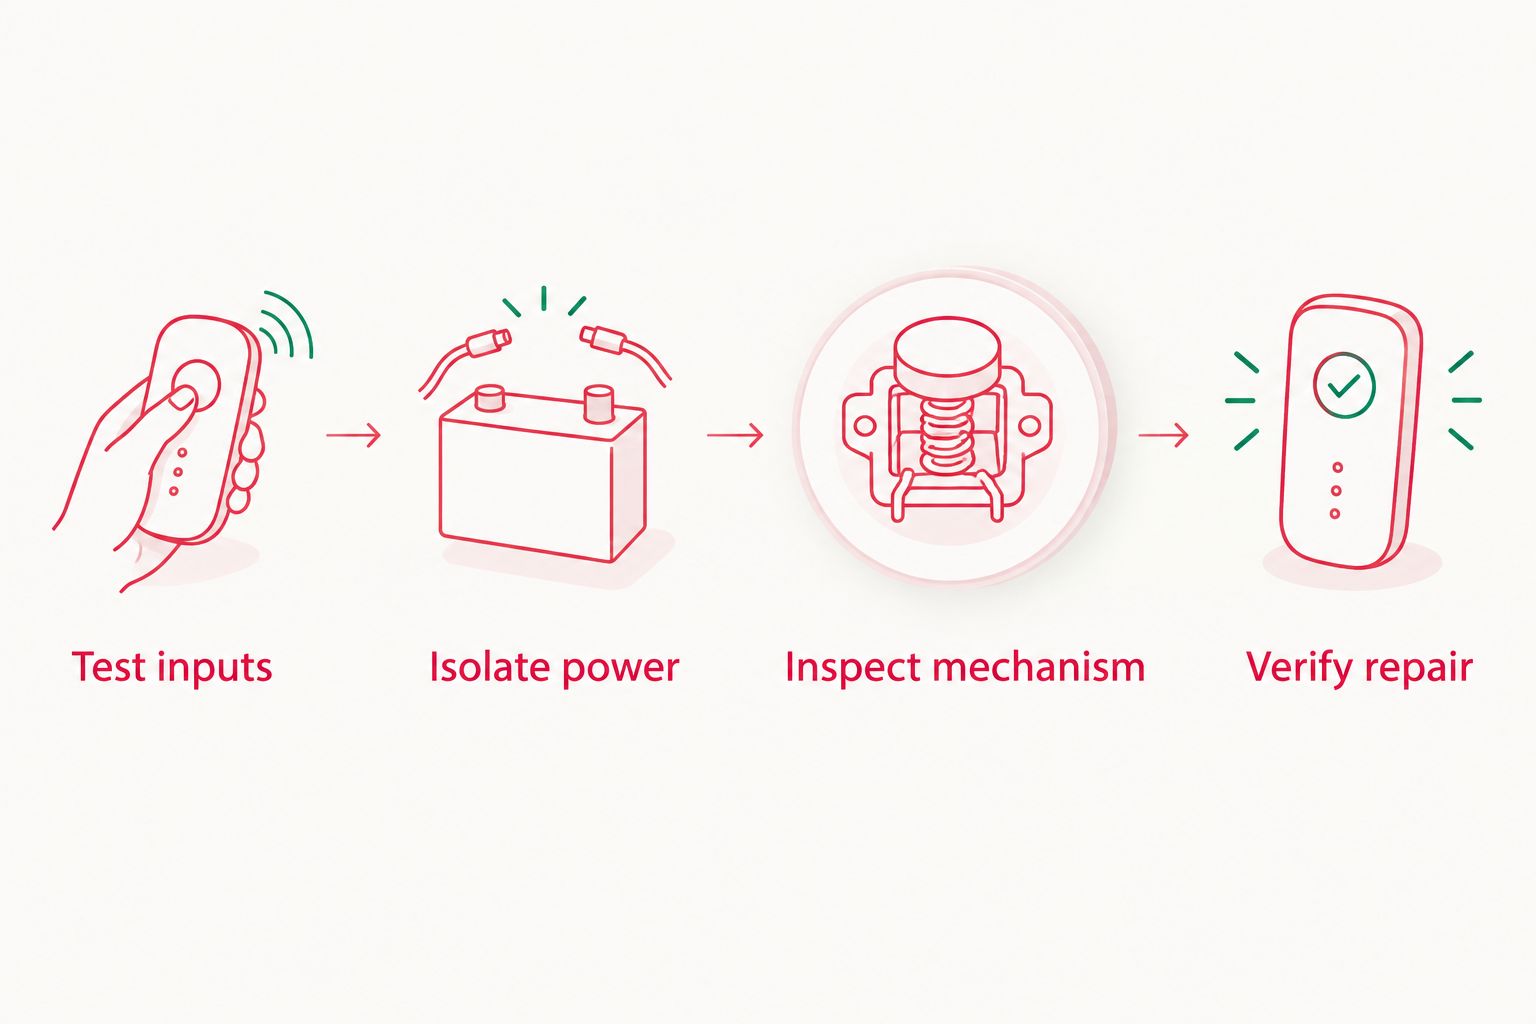
Use the same sequence for the left and right inputs. Record whether the problem affects pressing, holding or releasing the button; those are different symptoms and useful information for a repairer.
Test inputs
Choose a game and a gameplay situation where the shoulder action is known. Test each input separately, then hold and release it. A menu that ignores L or R cannot establish whether the button works.
Notice whether a normal press registers, whether the input drops out while held and whether it stops when released. Compare the physical feel of both buttons, but do not assume the working side proves what is wrong with the other.
Isolate power
Before opening the console, switch it off, unplug the charger and remove the battery. Keep the cartridge and loose parts away from the work area.
Do not work on a powered motherboard. If the battery is swollen or damaged, stop the shoulder-button job and address the battery safely before continuing.
Inspect mechanism
Use drivers that fit the console’s screws correctly. Keep screws organised by their original locations and lift the housing carefully rather than forcing a stuck section.
Inspect the button, its return mechanism and the area that contacts the switch. Photograph the arrangement before removing small parts. Protect the display ribbon cable and any modification wiring if your disassembly reaches them.
Verify repair
After correcting the fault and reassembling the console, repeat the original gameplay test. Check pressing, holding and releasing each shoulder button with the housing fully fitted.
A mechanism that works while exposed but binds after assembly is not finished. Resolve the fit problem rather than pressing harder or leaving the housing loose.
Why shoulder-button repair difficulty varies
The repair method follows the actual fault, not the console’s colour or cosmetic condition. These factors determine how much work is involved:
- Plastic condition: A cracked actuator requires a mechanical replacement; intact plastic does not establish switch health.
- Return mechanism: A displaced or damaged mechanism changes how the button moves and releases.
- Switch condition: Failed electrical contacts require work beyond cleaning the outside of the console.
- Board condition: Corrosion, damaged pads or broken connections need diagnosis before a replacement switch is fitted.
- Shell fit: Incorrect seating or unsuitable replacement plastic can interfere with button travel.
- Existing modifications: Added wiring requires care during disassembly and must not be trapped during reassembly.
For a 2026 repair enquiry, describe these observations rather than simply requesting new buttons. A useful report says which side fails, whether it clicks and whether the game registers a held input.
Can I replace GBA SP shoulder buttons without soldering?
You can replace the external plastic shoulder buttons without soldering; replacing the motherboard switches requires soldering. Cleaning accessible mechanical parts or correcting their seating also does not inherently require switch removal.
The boundary matters. A repair kit labelled as shoulder buttons can refer to external plastic rather than electrical switches. Confirm what the kit contains and whether it is intended for the Game Boy Advance SP.
Do not treat a soldered component as a clipped-in part. Pulling it off the motherboard risks damaging the pads that a replacement needs.
Will cleaning fix a shoulder button that misses presses?
Cleaning helps when contamination interferes with the mechanism, but it does not replace a failed switch. Remove accessible debris carefully and use cleaning materials suitable for the surface involved. Do not flood the assembled console with liquid.
Avoid spraying general-purpose lubricant into the shoulder-button opening. That approach does not diagnose the fault and exposes surrounding components to residue.
If the button still misses input after the mechanism is clean and correctly seated, investigate the switch and its connections. Repeating the same cleaning step is not evidence that the electrical fault has been repaired.
Should I replace both shoulder switches at once?
Replace both switches only when their condition or your restoration goals justify the work. One failed switch does not establish that the other has failed.
Test both sides before deciding. Keeping a working original switch avoids unnecessary soldering; replacing both can be part of a deliberate restoration, but that choice should be explicit rather than assumed.
If you are arranging professional work in 2026, ask the repairer to distinguish required repairs from optional replacements. The repair scope should explain what failed and what will be tested afterwards.
When professional repair makes sense
Retrofit is best for Australian Game Boy Advance SP owners seeking professional repair help. The brand offers repair and upgrade services alongside refurbished and modded consoles.
Contact Retrofit with the affected side, symptoms and any known modification history. Ask whether the proposed work covers the external mechanism, the soldered switch or a motherboard connection, and request confirmation of the specific repair scope.
Professional repair keeps soldered-switch work out of inexperienced hands. Its limitation is that you need an assessment rather than assuming every shoulder-button symptom has the same fix. A refurbished Retrofit Game Boy Advance SP is a separate purchase decision, not a necessary solution to an isolated button fault.
If preserving your existing console matters, state that clearly. Ask the repairer to retain serviceable parts and explain any additional work before proceeding.
What should you check after the repair?
A successful repair registers deliberate presses without sticking or dropping a held input. Test with the console fully assembled, because housing fit affects how the external button reaches the switch.
Use this 2026 acceptance checklist:
- Press: The game registers normal button pressure without requiring forceful squeezing.
- Hold: A sustained press remains active where the game supports a held action.
- Release: The action stops after you let go, and the plastic button returns freely.
- Compare: Both shoulder buttons operate predictably, without treating sound alone as proof.
- Recheck: The other controls still work after reassembly.
Do not accept an input that works only when pressed at an unusual angle. That symptom needs further investigation into fit, alignment or the switch itself.
FAQ
Can a Game Boy Advance SP’s worn shoulder buttons be replaced?
Yes, both the external plastic shoulder buttons and the soldered motherboard switches can be replaced. Identify the failed component first, because new plastic does not repair a failed electrical switch.
Can I replace my GBA SP’s L or R button without soldering?
You can replace the external plastic L or R button without soldering. Replacing its motherboard switch requires removing and fitting a soldered component.
Why does my GBA SP shoulder button click but not work?
A click confirms mechanical movement, not reliable electrical contact. Test the input in a game that uses it, then investigate the switch and its board connections.
Will a new GBA SP shell fix an unresponsive shoulder button?
A new shell does not fix a failed motherboard switch. It addresses the problem only when damaged housing or poor mechanical fit is preventing correct button operation.
Do I need to replace both GBA SP shoulder buttons?
No, a fault on one side does not prove that both sides need replacement. Test each input and base the repair on its actual condition.
Can Retrofit help with a Game Boy Advance SP repair in Australia?
Retrofit offers Game Boy Advance SP repair and upgrade services for Australian enthusiasts. Describe the shoulder-button symptoms and ask for confirmation of the required work.
What should I test after a GBA SP shoulder-button repair in 2026?
Test normal presses, held inputs and releases with the console fully assembled. Confirm that both shoulder buttons operate correctly and that the other controls still work.
One last thing
A louder click is not a better repair. The meaningful result is reliable input with normal pressure and a clean release, not a particular sound.
Before handing over the console, record the gameplay action that fails. Repeating that exact action after repair gives you a direct before-and-after check without relying on how the button feels.