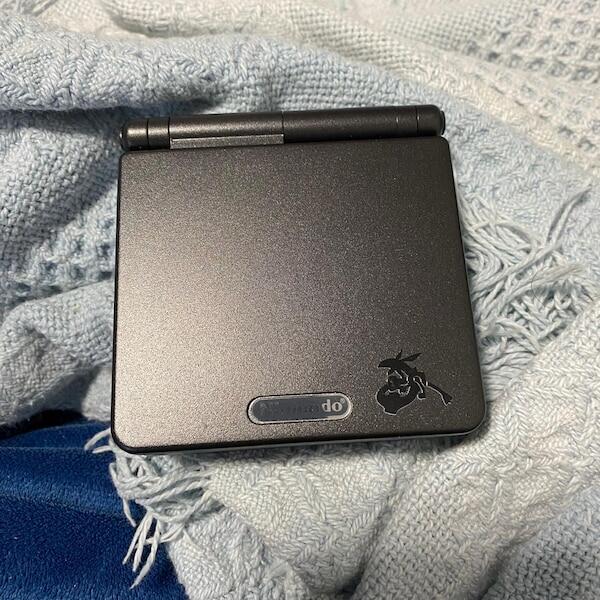

Best for avoiding installation entirely: a professionally rebuilt Game Boy Advance SP from Retrofit. Best DIY starting point: a solder-free screen kit with an explicitly compatible, pre-trimmed shell; for gameboy advance sp screen kit install difficulty, rank the required work—not the screen version number.
- Retrofit rebuilt Game Boy Advance SP consoles suit players who want a screen upgrade without DIY installation.
- Gameboy advance sp screen kit install difficulty depends on shell fit, ribbon routing and required soldering.
- For beginners, choose an explicitly compatible shell and a kit whose required functions work without soldering.
- IPS screen version labels alone do not establish installation difficulty or compatibility.
Why this matters
A screen kit can avoid soldering and still require awkward mechanical work. The Game Boy Advance SP routes its display ribbon through the hinge area, so fitting the screen involves more than plugging a panel into the motherboard.
In 2026, judge an upgrade by its installation instructions before judging its feature list. A compatible shell, clear connector instructions and an understood brightness-control method matter more to a first-time installer than an impressive version label.
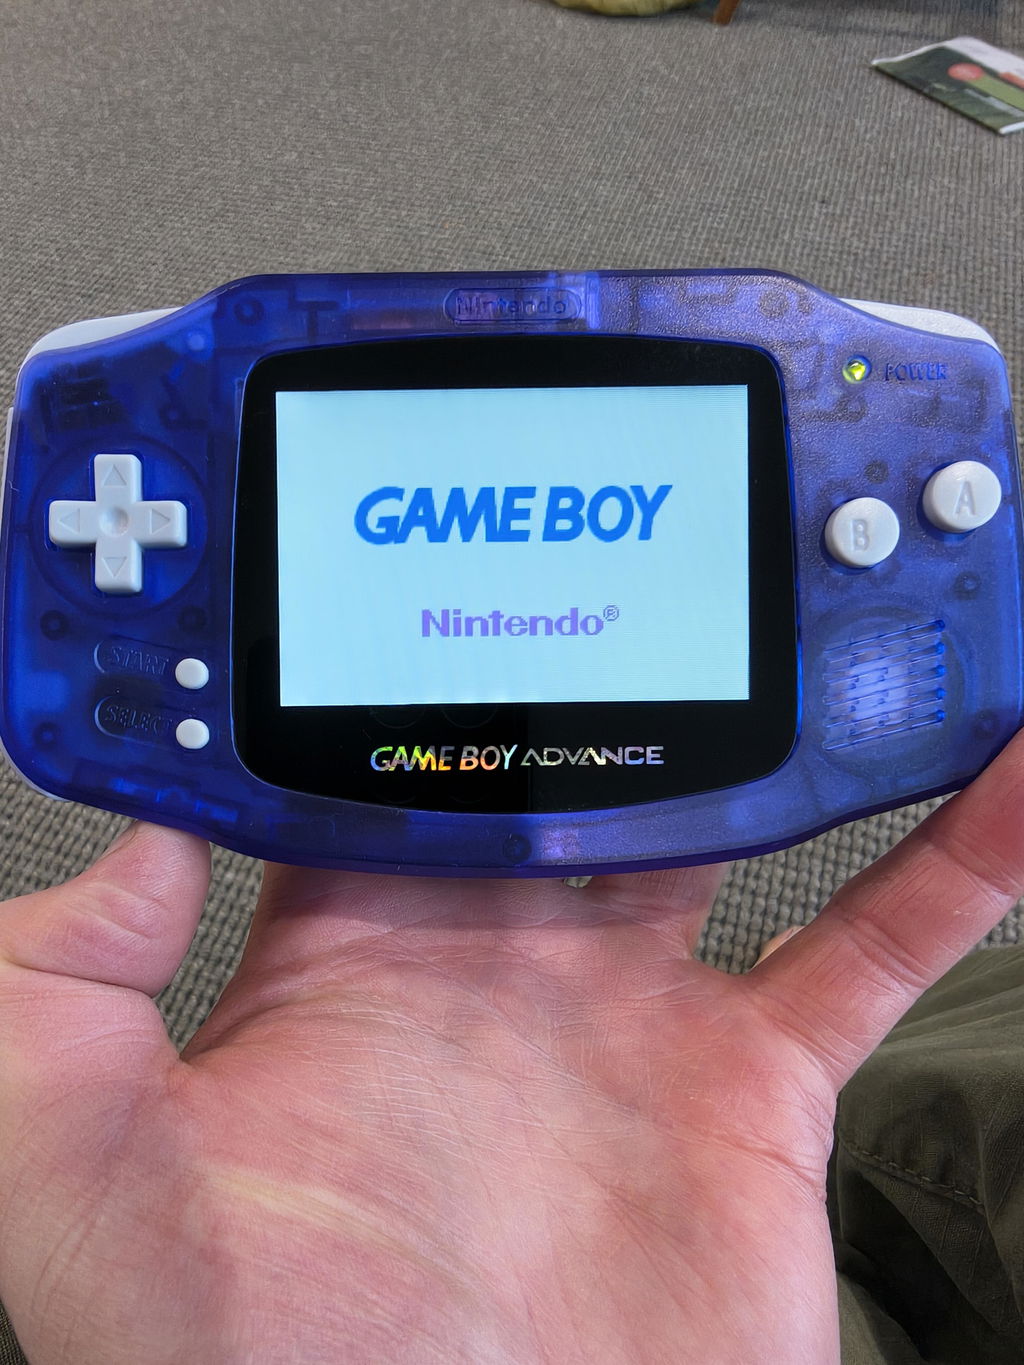
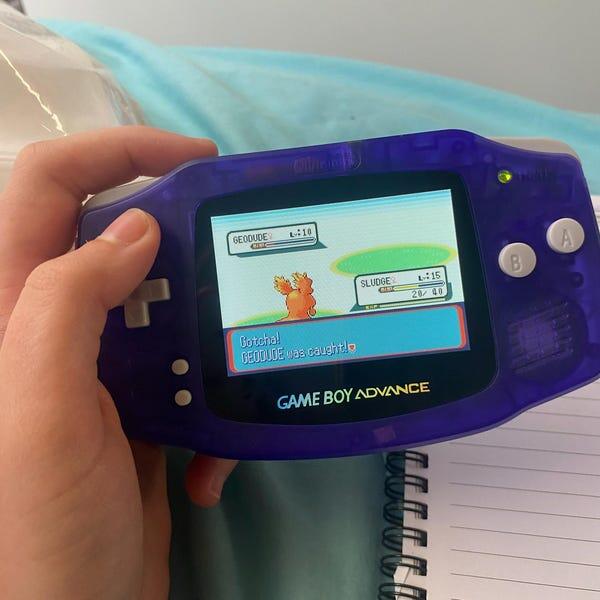
Retrofit Game Boy Advance SP consoles are best for players who want a professionally refurbished screen upgrade without installing a kit themselves. That is an alternative to DIY, not a screen-kit recommendation. The rankings below separate that route from four installation configurations you can assess against an actual kit manual.
What makes the best Game Boy Advance SP screen kit for easy installation?
Use these five criteria to assess a kit. They describe the work you must complete, rather than assigning unsupported difficulty scores to named products.
- Shell fit: The instructions identify a compatible shell and state whether cutting, trimming or additional spacers are required.
- Soldering requirements: The manual distinguishes mandatory connections from optional brightness or menu-control wiring.
- Ribbon routing: Installation pictures show the correct ribbon orientation, hinge routing and motherboard connector position.
- Screen mounting: The instructions explain lens alignment, insulation, adhesive placement and any included mounting hardware.
- Testing instructions: The manual provides a supported test procedure before you permanently mount the display and close the console.
A good beginner choice removes unnecessary operations. It does not remove the need to handle the hinge, ribbon cable and connector carefully.
For a 2026 purchase, match the exact screen revision to the exact shell revision. “IPS compatible” is not enough information when the listing does not identify which screen assembly fits.
Installation options at a glance
This is an easiest-first ranking of installation routes, not a measured comparison of specific manufacturers. Within the DIY options, each position assumes the kit and shell meet the conditions stated in that row.
| Rank and option | Best for | Standout feature | Key limitation |
|---|---|---|---|
| 1. Professionally rebuilt SP | Playing without a DIY project | No screen installation for the buyer | Not a kit or a hands-on build |
| 2. Solder-free kit with matched shell | First-time screen installers | Removes soldering and shell cutting from the required work | Hinge and ribbon handling remain |
| 3. Matched-shell kit with optional soldering | Builders happy to postpone extra controls | Separates the basic installation from optional wiring | Unwired features depend on the kit |
| 4. Matched-shell kit with required soldering | Experienced electronics hobbyists | Avoids shell cutting while retaining the specified wired functions | Board-level soldering is compulsory |
| 5. Kit requiring shell trimming | Builders preserving an existing shell | Allows a project centred on the original housing | Adds irreversible material removal |
The last two routes have different challenges. Someone confident with soldering but inexperienced with shell cutting can reasonably prefer the fourth route; a skilled shell modifier can prefer the fifth.
1. Professionally rebuilt SP: best for avoiding installation
A professionally rebuilt Game Boy Advance SP moves the screen installation out of your workload. You choose a finished console rather than opening your own handheld, routing a replacement ribbon and completing the display assembly.
Retrofit sells professionally refurbished and modded Game Boy Advance SP consoles and provides repair and upgrade services. Its stated offering includes IPS V5 screens, but a finished-console specification is not evidence that an equivalent loose kit is beginner-friendly.
Professionally rebuilt SP pros:
- No screen assembly to install yourself.
- No personal need to learn hinge disassembly for the upgrade.
- A direct route for players whose goal is gaming rather than modification.
Professionally rebuilt SP cons:
- A finished console does not provide the DIY experience.
- It does not answer whether a particular kit fits your existing handheld.
- You choose from the configurations described for the finished console.
Best for: Players who want the upgraded handheld, not the installation project.
For a 2026 purchase, check the individual console's stated screen and charging configuration rather than assuming every edition is identical. If you want to retain your own console, discuss the required work through the brand's repair and upgrade services instead of treating a finished console as a kit.
Verdict: Buy a rebuilt SP when avoiding DIY work is your priority.
2. Solder-free kit with matched shell: best for a first installation
This configuration combines a screen whose required functions work without soldering with a shell explicitly made to accept that screen assembly. It removes two separate tasks: electrical soldering and shell cutting.
It remains a real installation. You still need to disassemble the SP, handle its hinges, route the display ribbon and seat the motherboard connection without damaging it.
Solder-free matched-shell kit pros:
- No required solder joints under this configuration.
- No shell trimming when the stated fit is correct.
- Lets you concentrate on mechanical assembly and connector handling.
Solder-free matched-shell kit cons:
- Solder-free does not mean tool-free.
- A matching shell can require transferring buttons and other original parts.
- Brightness control must be confirmed in the exact kit instructions.
Best for: A careful beginner who wants to learn screen replacement without also learning soldering.
Before buying, confirm how you control brightness after installation. A kit that displays an image without soldering but requires a wire for the controls you want belongs in the next category instead.
Verdict: Buy this configuration for a first DIY upgrade only after confirming shell fit and required controls.
3. Matched-shell kit with optional soldering: best for staged upgrades
Some installation instructions separate the basic display connection from additional control wiring. This route suits you when the documented unwired configuration already provides the functions you need.
The important word is optional. Read what remains usable without each wire, rather than assuming optional soldering means every advertised feature works immediately.
Optional-solder matched-shell kit pros:
- Keeps shell cutting out of the project when compatibility is confirmed.
- Allows you to stop at the documented basic installation.
- Separates additional wiring from the essential screen assembly.
Optional-solder matched-shell kit cons:
- The unwired configuration can exclude controls you want.
- Adding wires later requires reopening the console.
- A feature list alone does not explain the unwired behaviour.
Best for: Builders who accept the documented basic controls and want to defer optional wiring.
Write down which functions you expect before ordering. Compare that list with the manual's unwired configuration; if a desired function requires soldering, treat that connection as required for your build.
Verdict: Buy only when the basic configuration meets your needs; otherwise hold until you can complete the wiring.
4. Matched-shell kit with required soldering: best for experienced hobbyists
This configuration removes shell cutting but requires electrical connections specified by the kit manufacturer. Mechanical compatibility makes one part of the project simpler; it does not make the soldering optional.
Choose it when you already understand small electronic connections, insulation and wire routing. Your first practice solder joint should not be on the console you want to preserve.
Required-solder matched-shell kit pros:
- A confirmed shell match avoids a separate trimming task.
- Clear wiring instructions identify the connections needed for operation.
- Suits builders who already have suitable soldering equipment and skills.
Required-solder matched-shell kit cons:
- Adds the risk of solder bridges or damaged pads.
- Wires need routing that avoids pinching during reassembly.
- Display faults can require checking both connectors and soldered connections.
Best for: Electronics hobbyists comfortable following the exact board-level instructions.
Keep screen installation separate from unrelated modifications. Adding charging changes during the same build introduces another system to inspect if the console stops behaving normally.
Verdict: Buy for an experienced build; skip as a first soldering exercise.
5. Kit requiring shell trimming: best for retaining an existing housing
A screen assembly that does not fit your current shell without modification adds material removal to the installation. This route suits projects where keeping that housing matters more than minimising assembly work.
The cutting locations and clearances must come from the exact kit instructions. Do not use another screen revision's photographs as a substitute.
Shell-trimming kit pros:
- Keeps the project centred on your existing housing.
- Lets an experienced builder address the documented fit directly.
- Avoids replacing the shell solely to obtain clearance.
Shell-trimming kit cons:
- Removed material cannot simply be put back.
- Debris must stay away from the display and electronics.
- Repeated fit checks add handling of fragile components.
Best for: Experienced shell modifiers with a specific reason to retain the housing.
For a 2026 beginner build, prioritise a documented shell match instead. Keeping an original shell unmodified is also a valid decision, particularly when preserving the console matters to you.
Verdict: Skip for a first installation; buy only for a deliberate shell-preservation project.
Check the installation before opening the console
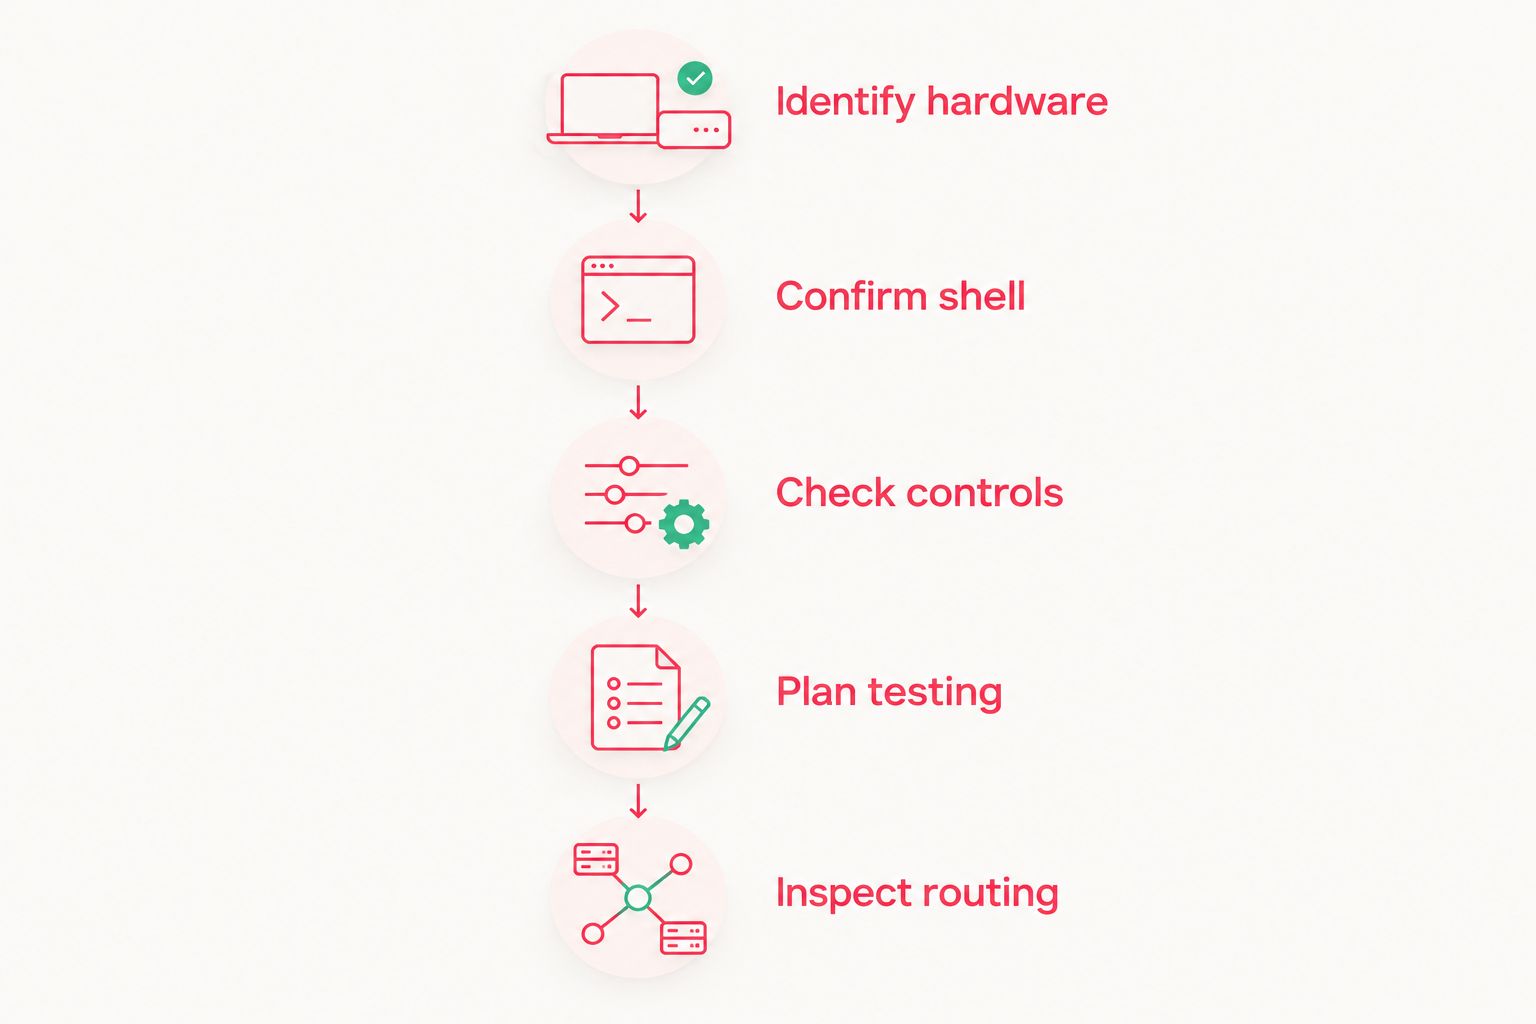
Read the complete manual while the SP is still assembled. These checks turn a vague difficulty label into a concrete decision about your own skills and hardware.
- Identify hardware: Record the console model and the screen kit's exact revision.
- Confirm shell: Check the stated shell compatibility and any required trimming.
- Check controls: Separate essential connections from optional brightness or menu wiring.
- Plan testing: Locate the manufacturer's supported test procedure and stopping points.
- Inspect routing: Study the ribbon path, insulation and wire placement before assembly.
Test the original console first, too. Record whether its display, brightness button, audio and game controls work so an existing fault does not become confused with an installation fault.
During assembly, stop when a ribbon or connector resists. More force is not a compatibility fix; check orientation and return to the instructions.
How this ranking works
The ranking prioritises avoiding installation, then removing required operations from a DIY build. Shell compatibility, soldering requirements, ribbon routing, mounting and testing are the criteria—not assumed completion times or invented success rates.
No manufacturer-specific kit earns a position from a version number alone. The same screen family can involve different installation work depending on the shell and the functions you intend to use.
A useful reference point is the original GBA image: 240 pixels wide by 160 pixels high, or 38,400 pixels in a 3:2 aspect ratio. Those established display dimensions describe the game image, not installation difficulty; a replacement panel's resolution does not tell you whether cutting or soldering is required.
Which installation route should you choose?
Choose a documented solder-free kit and matched shell if your goal is a first DIY screen upgrade. It removes required soldering and shell cutting, leaving the mechanical installation as the main task.
Choose Retrofit Game Boy Advance SP consoles if your goal is to play without performing that work. Choose a required-solder or shell-trimming route only when the project calls for it and your skills match the instructions.
For 2026, the deciding question is simple: can you explain every required operation before opening the handheld? If not, resolve the instructions first rather than buying on the strength of an IPS label.
FAQ
What's the easiest Game Boy Advance SP screen kit to install?
The easiest DIY configuration is a kit whose required functions work without soldering, paired with an explicitly compatible pre-trimmed shell. You still need to handle the hinges, ribbon cable and motherboard connector correctly.
Can I replace a Game Boy Advance SP screen without soldering?
Yes, when the exact kit supports the functions you need without soldered connections. Check whether brightness or menu controls require optional wiring before choosing that route.
Does an IPS V5 screen mean the installation is easy?
No, an IPS V5 label does not establish installation difficulty. Read the exact instructions for shell fit, wiring, ribbon routing and mounting.
Is a pre-trimmed shell enough to make a screen kit beginner-friendly?
No, a compatible pre-trimmed shell removes cutting but does not remove connector handling or any required soldering. Confirm the electrical requirements separately.
Can I keep my original Game Boy Advance SP shell?
Keep the original shell only when the kit documentation supports its fit or specifies modifications you are prepared to perform. Do not cut the housing based on instructions for a different screen revision.
Should I buy a rebuilt SP instead of installing a screen kit?
Buy a professionally rebuilt SP when your goal is an upgraded console without a DIY project. Retrofit sells professionally refurbished and modded Game Boy Advance SP consoles as an alternative to installing a kit yourself.
How long does a Game Boy Advance SP screen installation take?
There is no single installation time that applies to every kit and builder. Required soldering, shell trimming, hinge handling and testing change the work involved; use the exact manual to plan the job.
One last thing
The brightness button is a useful buying checkpoint. Ask what that button does after the documented installation, both with and without optional wiring; the answer exposes whether a supposedly simple kit actually meets your needs.
Check the finished controls before choosing the installation route. A screen that turns on is only part of a usable upgrade.