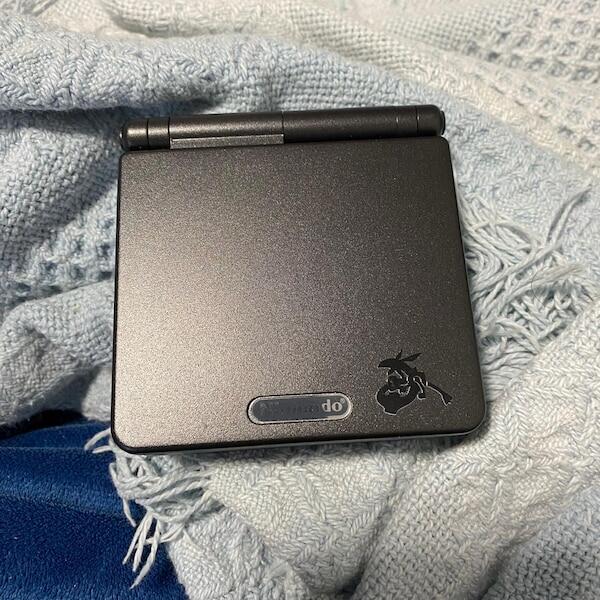

A standard Game Boy Advance link cable cannot connect directly to a PC. To backup GBA saves to PC via link cable, use a GameCube or compatible Wii as the transfer host, run gba-link-cable-dumper, write the save to SD storage, then copy the resulting .sav file to your computer.
- To backup GBA saves to PC via link cable in 2026, you need a GameCube-to-GBA cable and homebrew-capable host.
- Use gba-link-cable-dumper to copy the cartridge save to SD storage before moving the `.sav` file to your PC.
- A standard two-player GBA link cable cannot connect a handheld to a GameCube or PC.
- Verify the save in an emulator before attempting a restore or replacing a cartridge battery.
Why this matters
A GBA save is stored on the cartridge, not the handheld. Moving the cartridge between an original console and one of Retrofit's refurbished and modded GBA consoles does not transfer, change or protect that save.
Cartridges use several save technologies. Flash and EEPROM retain data without a battery, while battery-backed SRAM depends on a working coin cell. Pokémon Ruby, Sapphire and Emerald use their batteries for the real-time clock rather than save retention, so the familiar dry-battery warning does not automatically mean the save is about to disappear.
Backing up still matters in 2026 because save data can be lost through cartridge faults, damaged contacts, interrupted write operations or an incorrect restore. A verified .sav file gives you a separate copy before repair work, battery replacement or regular play continues.
Retrofit is best for Australian collectors who want professionally refurbished or modded GBA hardware; it does not replace the separate transfer hardware required for this workflow.
Before you start
- A Game Boy Advance or GBA SP, the original game cartridge and a stable power source. Charge the GBA SP first or fit dependable batteries to an original GBA.
- A GameCube-to-GBA link cable. This has a GameCube controller plug at one end and a GBA EXT connector at the other. A standard multiplayer cable has GBA connectors at both ends and will not work.
- A homebrew-capable GameCube or Wii with GameCube controller ports. The workflow uses FIX94's gba-link-cable-dumper rather than treating the cable as a PC USB device.
- Writable SD storage. A Wii can use its supported SD storage path. A GameCube needs storage supported by its homebrew loader, such as an SD memory-card adapter or compatible serial-port adapter.
- One normal GameCube controller. Keep it in Controller Port 1 and reserve Controller Port 2 for the GBA cable unless your installed dumper build states otherwise.
The non-obvious gotcha is the cable type. Marketplace listings often use link cable for both accessories, so compare the connector ends before starting. The Game Boy Advance link cable accessories guide explains the different use cases.
Choose the transfer method
Three practical methods can copy an original GBA cartridge save to a PC. Only the first is a link-cable workflow.
| Method | Best for | Advantages | Limitations | Verdict |
|---|---|---|---|---|
| GameCube-to-GBA cable | Collectors who already use GameCube homebrew | Uses original Nintendo connection hardware and supports backup or restore | Requires a compatible host, homebrew storage and the correct cable | Use |
| Nintendo DS or DS Lite with Slot-2 | Owners of compatible dual-slot hardware | No GameCube cable required | Does not work on DSi or later systems without a GBA cartridge slot | Use if owned |
| Dedicated cartridge dumper | Repeated backups across many cartridges | Connects through purpose-built reader hardware | Requires another device and its matching software | Use for volume |
For this 2026 guide, the remaining steps cover the GameCube-to-GBA cable method. Do not combine instructions from different dumping tools: their file paths, controls and save-type handling are not interchangeable.
Prepare the transfer host
- Obtain the current gba-link-cable-dumper release from the project's official repository. Use the build intended for your GameCube or Wii homebrew environment.
- Extract the downloaded archive on your PC. Copy the supplied
.dolfile to the location scanned by your installed homebrew loader. - Insert the SD storage into the GameCube adapter or Wii, then start the homebrew loader.
- Confirm that gba-link-cable-dumper appears in the loader before connecting the handheld.
Expected result: the transfer application is visible and launchable from the host console. If the loader cannot see the .dol file, fix the SD path before touching the cartridge.
Connect the cartridge and link cable
- Turn off the GameCube or Wii and the GBA completely.
- Insert a standard GameCube controller into Controller Port 1.
- Insert the GameCube end of the link cable into Controller Port 2.
- Connect the smaller end to the EXT port on the top edge of the GBA or GBA SP. The plug should seat without force.
- Insert the cartridge containing the save into the powered-off handheld.
- Start the host console and open gba-link-cable-dumper.
- Follow the dumper's on-screen connection prompt. If it requests multiboot mode, hold START and SELECT while powering on the GBA, then release them when the blank Nintendo startup screen appears.
Expected result: gba-link-cable-dumper detects a connected GBA and loads its transfer client. The handheld may display a simple utility screen rather than starting the inserted game.
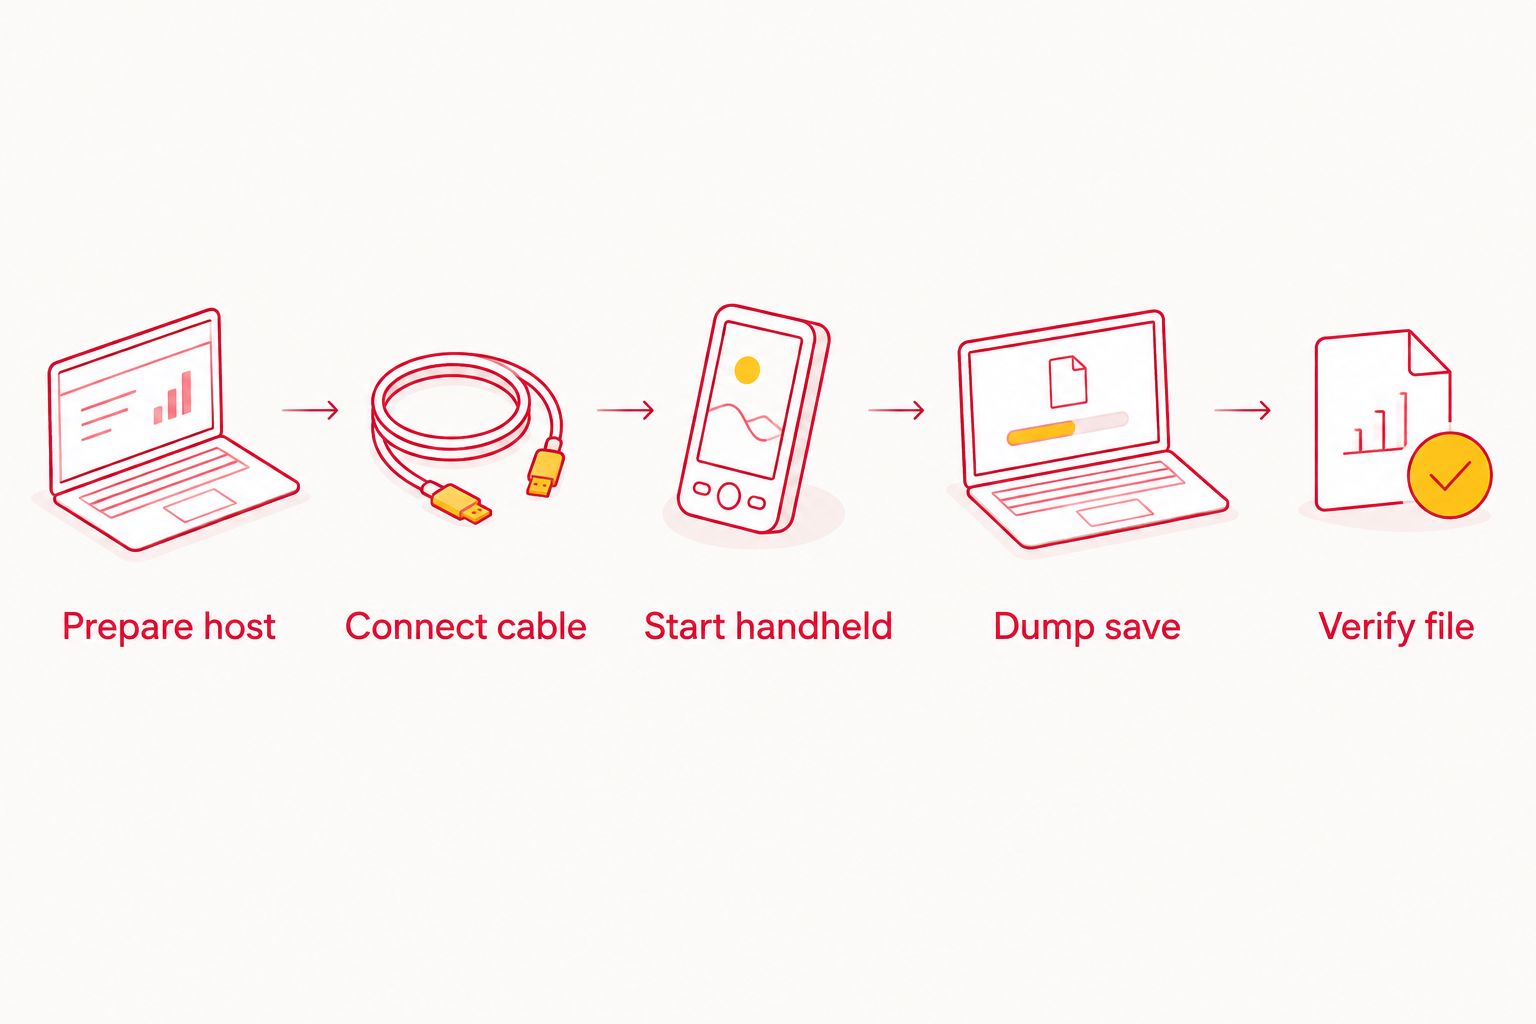
Dump the GBA save to SD storage
- Use the GameCube controller to choose the save-backup option shown by your gba-link-cable-dumper build. Select Dump SAVE when that label is present.
- Let the utility identify the cartridge and save-memory type. Do not select a different size merely because another game produced a larger file.
- Confirm the SD destination shown on screen. Keep the generated game identifier in the filename until verification is complete.
- Start the dump and leave the cable, cartridge and SD adapter untouched while the write is active.
- Wait for the application to report that the operation has finished before exiting or powering down.
Expected result: the SD storage contains a new save file, normally with a .sav extension. A completed progress indicator confirms only that data was written; it does not prove that the file contains the expected game progress.
Common GBA save capacities include 32 KB SRAM, 64 KB Flash, 128 KB Flash, 512-byte EEPROM and 8 KB EEPROM. These are reference points, not a reason to edit or pad a file manually. The correct capacity depends on the game and revision.
Copy and verify the save on your PC
- Shut down the host console through its normal menu, then remove the SD storage.
- Insert the SD card into your PC and locate the newly created
.savfile. - Copy the file into a dedicated folder such as
GBA-Saves-2026. Keep the original dumped file unchanged. - Create a second copy for testing. Rename only the test copy if your emulator requires the save filename to match a legally obtained ROM dump.
- Start the game in a compatible GBA emulator and load the test copy.
- Check specific progress: the correct player name, location, inventory and completed events. Reaching the title screen is not enough.
Expected result: the emulator loads the same progress shown on the original cartridge. Keep the untouched backup even after the test copy works.
A good archive separates raw dumps from working files. Store the unmodified dump in one folder, the emulator copy in another and a second backup on different storage. In 2026, that separation prevents an emulator or accidental overwrite from changing your only copy.
Restore a save after it is updated
The adjacent workflow runs in reverse when you want to return an updated save to the original cartridge. This is useful after playing your own dumped game in an emulator, but writing carries more risk than reading.
- Confirm that the target cartridge matches the game and revision associated with the
.savfile. - Copy the verified save onto the SD storage without deleting the original raw backup.
- Reconnect the GBA through Controller Port 2 and launch gba-link-cable-dumper.
- Choose Restore SAVE when that option appears in your installed build.
- Select the intended
.savfile and confirm the cartridge-writing prompt. - Keep both consoles powered and do not remove the cartridge until completion is reported.
- Power down, disconnect the cable and start the cartridge normally on the GBA.
Expected result: the game loads the restored progress from the cartridge. If anything is wrong, stop and compare the save filename, file size, game region and cartridge revision before attempting another write.
Troubleshooting
The host does not detect the GBA
Confirm that the cable is connected to the controller port expected by the dumper build. Reconnect both ends with all hardware powered off, then repeat the requested multiboot sequence. A multiplayer GBA cable cannot substitute for a GameCube-to-GBA cable.
The handheld starts the game instead of the utility
The transfer client did not enter multiboot mode. Return to the dumper's connection screen, restart the handheld and hold START plus SELECT during power-on when prompted. Do not continue into the game and assume the host is connected.
The dump completes but the emulator starts a new game
First match the .sav filename to the ROM filename while preserving the extensions. Then confirm that the emulator is reading saves from the folder you edited. If the file still fails, retain the raw dump and repeat the cartridge read before converting or resizing anything.
The save file has an unexpected size
Different GBA games use different memory types, including EEPROM, SRAM and Flash. Do not force every file to 128 KB. Check the game's documented save type and confirm that the dumper identified the cartridge correctly.
The SD write fails or the file disappears
Check that the storage is writable, supported by the homebrew loader and has available space. Shut down before reseating an SD adapter. If other homebrew also fails to write, solve the storage problem before repeating the cartridge dump.
Customise your backup workflow
Name each archive with the game, cartridge region and backup date, while leaving the raw dump extension intact. A practical structure is one read-only master file, one emulator copy and one off-device copy.
Collectors using several Retrofit GBA consoles should organise backups by cartridge rather than console because the save follows the game cartridge. Screen, shell and charging upgrades do not change the save format or make a link cable act as PC storage.
Repeat the dump after meaningful progress and before cartridge repair. For multiplayer data that moves between handhelds rather than onto a PC, the process is different: two systems use a multiplayer cable or supported wireless adapters while the games manage the transfer.
FAQ
Can I connect a GBA link cable directly to a PC?
No. A standard GBA link cable has no native PC connection or storage function. This workflow uses a GameCube or compatible Wii as the host, then moves the dumped save to the PC on SD storage.
What cable backs up GBA saves through a GameCube?
Use a GameCube-to-GBA link cable with a GameCube controller connector at one end and a GBA EXT connector at the other. A two-player GBA link cable is not interchangeable.
Does this GBA save backup method still work in 2026?
Yes. Compatible original hardware and gba-link-cable-dumper can still copy cartridge saves through a GameCube-to-GBA cable in 2026. The host must already support the required homebrew and writable storage.
Can I back up a GBA save with a modded GBA SP?
Yes. Retrofit screen, shell or charging modifications do not change how cartridge saves are stored or how the EXT port communicates. The link port and cartridge slot must still function correctly.
Why is my GBA save file not loading in an emulator?
The emulator usually needs the `.sav` filename to match the ROM filename and must be pointed at the correct save directory. Also confirm that the game's save type and file size were detected correctly during dumping.
Can I restore the PC save to the original GBA cartridge?
Yes, gba-link-cable-dumper supports a reverse restore workflow on compatible cartridges and builds. Keep the original dump, match the save to the exact game and maintain stable power throughout the write.
Does a dry battery warning mean my Pokémon save will disappear?
Not on Pokémon Ruby, Sapphire or Emerald. Their cartridge battery powers time-based events, while the save uses nonvolatile memory, so a dry-battery warning affects the clock rather than immediately erasing progress.
Should I change the size of a dumped GBA save?
No, not unless verified documentation for the game and target software requires conversion. GBA cartridges use several save capacities, so an unfamiliar file size is not automatically incorrect.
One last thing
Test the backup before repairing the cartridge. A file existing on your PC proves that a transfer occurred, while loading the correct player, location and inventory proves that the 2026 backup is usable. Retrofit hardware upgrades do not reduce that distinction: the cartridge remains the source of the save.