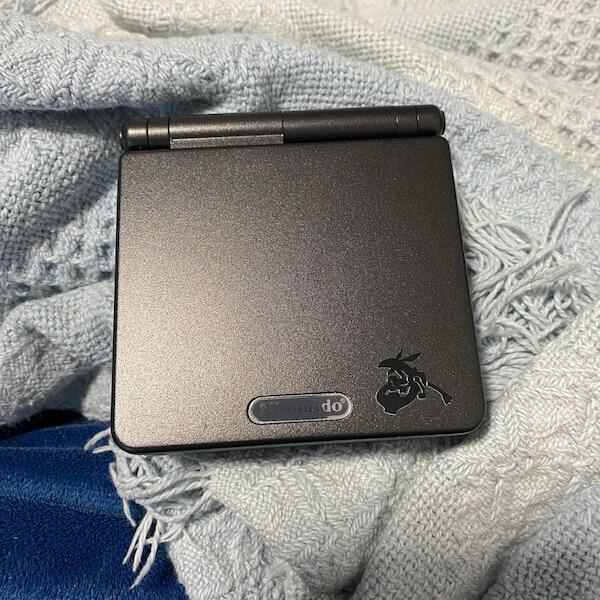

Yes, you can customise a Game Boy Advance SP with a different shell colour by replacing its outer housing while retaining the original Nintendo electronics. The replacement must suit the SP and its fitted screen; a shell swap involves dismantling the console, handling the display ribbon cable and refitting the hinges, not simply clipping on a cover.
- A custom Game Boy Advance SP shell colour changes the housing, not the console’s game compatibility.
- Choose a replacement shell that matches the fitted display, especially when combining reshelling with an IPS screen upgrade.
- Retrofit suits Australian enthusiasts seeking refurbished Game Boy Advance SP consoles rather than a DIY shell project.
- Keep the original housing if preserving the console’s factory appearance matters to your collection.
Can a Game Boy Advance SP be customised with a different shell colour?
Yes. A replacement SP housing lets you change the exterior without replacing the motherboard. You can choose an opaque finish, a transparent housing or a themed design, subject to the replacement parts matching your console’s configuration.
The important distinction is between changing the housing and upgrading the electronics. A different colour does not add a brighter display, USB-C charging or new game support. Those are separate modifications with separate compatibility requirements.
Before attempting the work, read about swapping a Game Boy Advance SP shell without damaging the motherboard. In 2026, the right starting point remains the actual hardware inside your console, not the colour pictured on a listing.
| Shell approach | Best for | Main benefit | Main limitation |
|---|---|---|---|
| Solid colour | A restrained, uniform appearance | Hides internal components from view | Does not show the internal build |
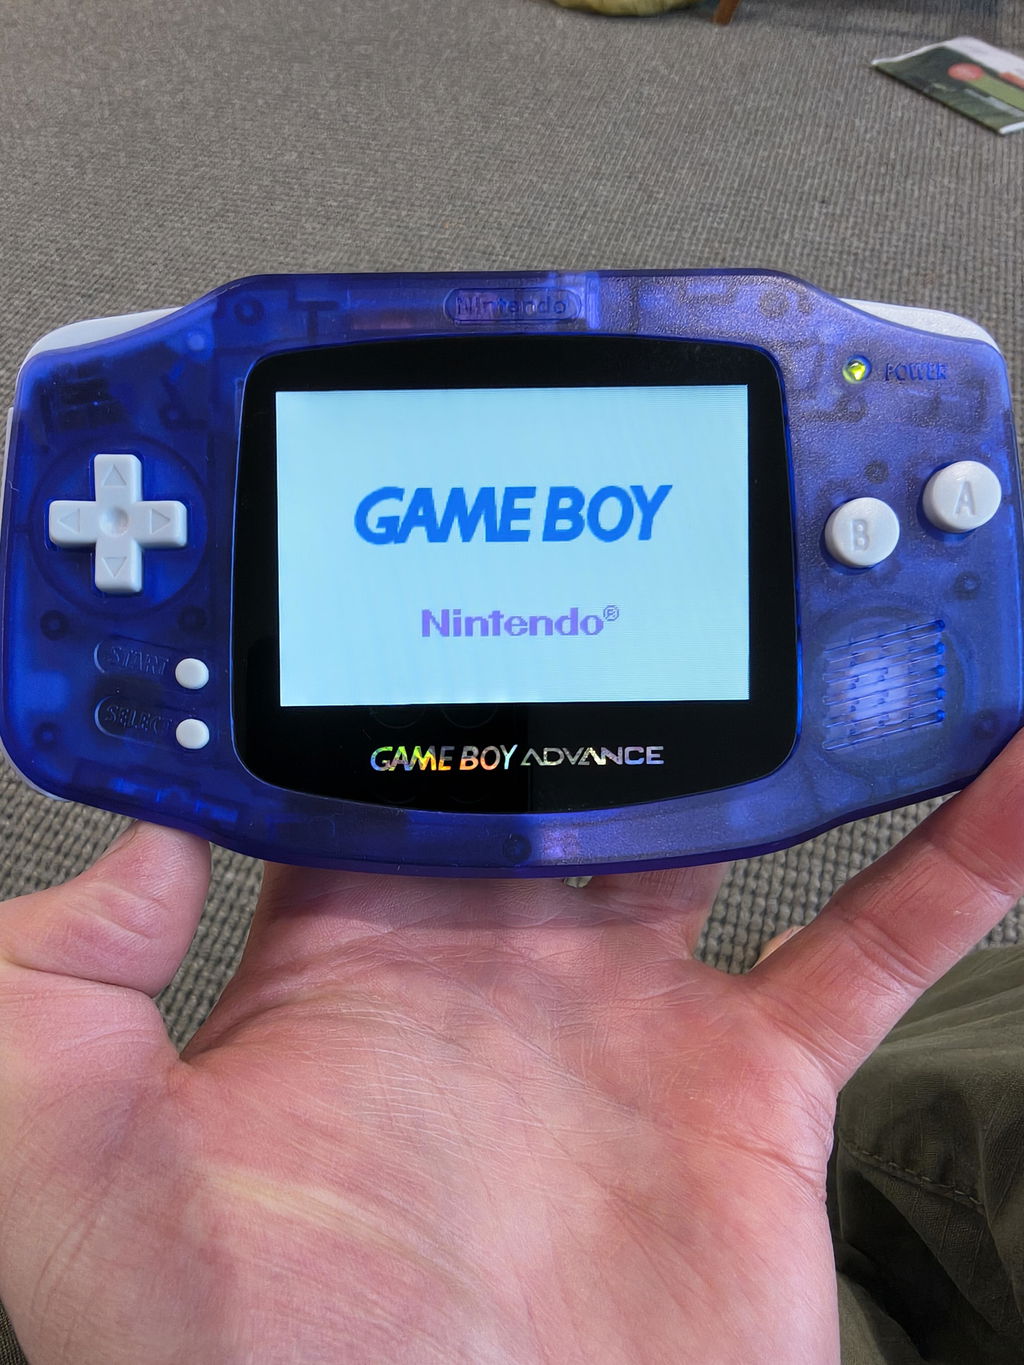
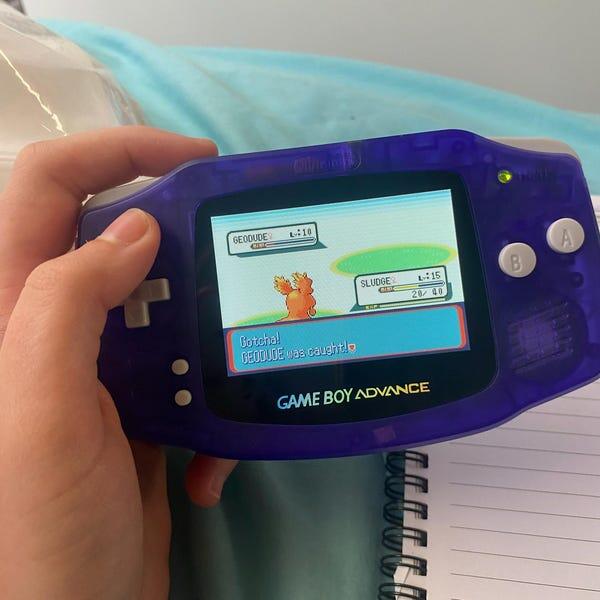
| Transparent colour | Enthusiasts who want visible internals | Makes the electronics part of the appearance | Internal alignment and assembly remain visible |
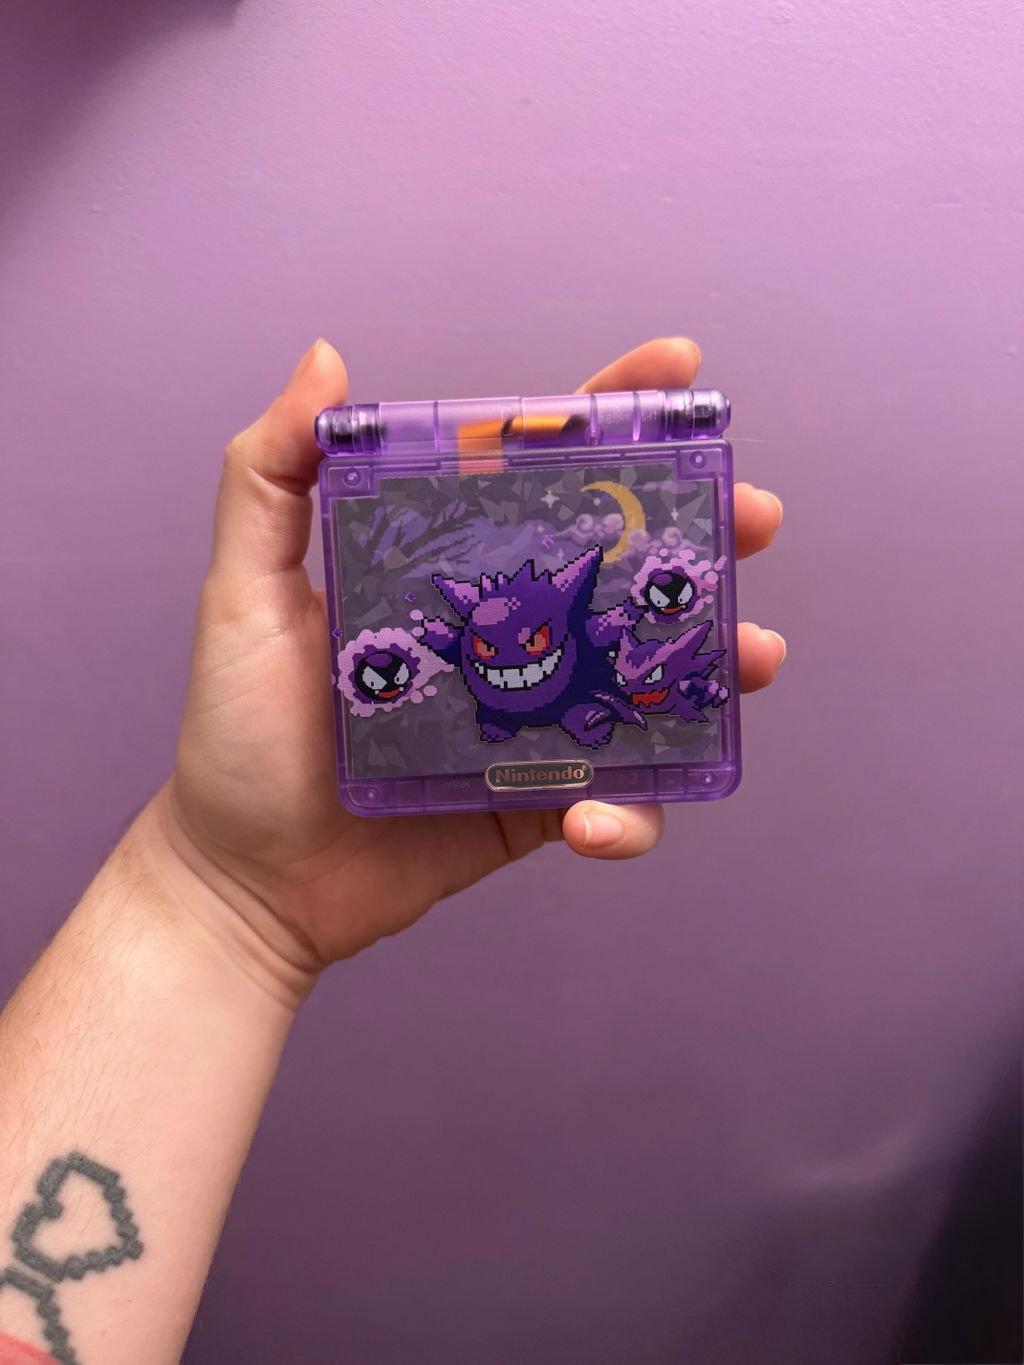
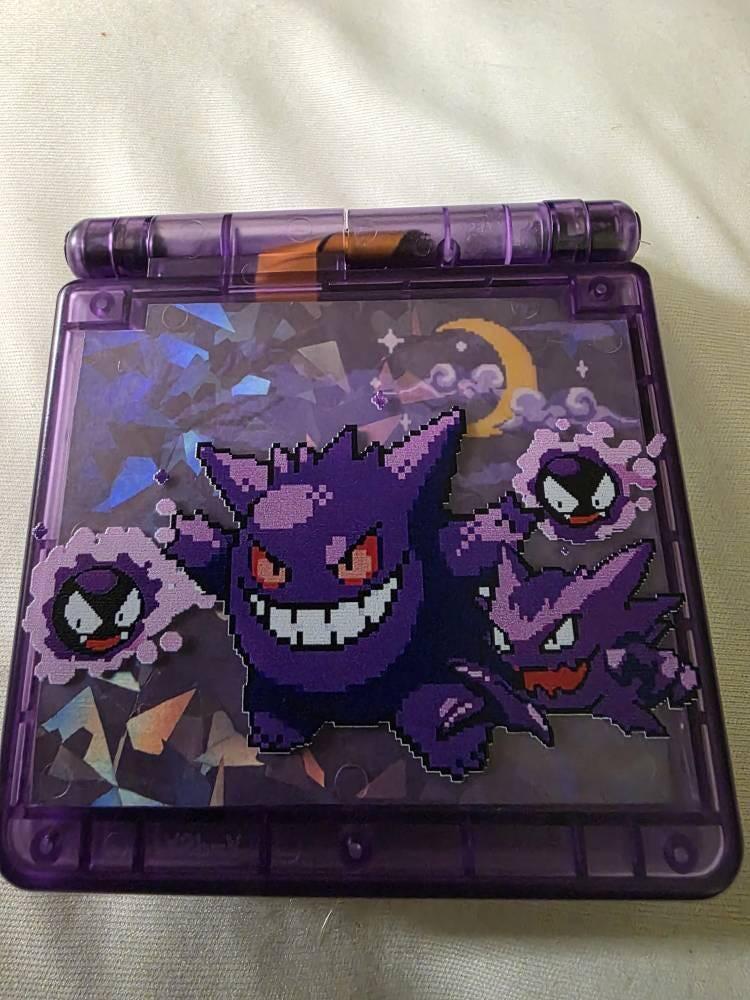
| Themed design | A character-led or display-focused build | Gives the console a distinct visual theme | A custom design does not establish factory-edition authenticity |
| Retaining the original shell | Collectors prioritising originality | Preserves the existing exterior | Keeps existing cosmetic wear unless addressed separately |
Why this matters
A shell holds more than the console’s colour. It supports the display, positions the controls and forms the hinge area that joins the lid to the lower body. Poor fit affects how the finished handheld feels, even when the motherboard works correctly.
Decide whether you want a personalised player or an original-condition collectable before replacing anything. A reshell serves the first goal; keeping the factory housing serves the second. Neither choice automatically improves screen quality or repairs an electrical fault.
For a 2026 purchase, separate appearance, condition and modifications in your checklist. A clean-looking exterior answers only the appearance question. You still need to establish what screen is fitted, how the controls behave and whether the console has been tested.
Solid-colour shells: best for a uniform appearance
A solid-colour housing suits you if you want the console’s shape and finish to take priority over its internal components. Black and other opaque finishes keep the electronics out of sight. That makes this approach straightforward to assess visually: examine the exterior, seams and control openings.
The compromise is visibility. An opaque shell cannot show the internal assembly, and its colour tells you nothing about the condition of the parts underneath. Ask for functional evidence rather than treating a tidy exterior as proof of refurbishment.
Choose a solid colour for the appearance, then assess the build separately. Check photographs of the open console, closed lid, hinge area and rear housing rather than relying on a single front-facing image.
Transparent shells: best for visible internals
A transparent shell makes the internal components part of the finished appearance. It suits enthusiasts who enjoy seeing the hardware rather than hiding it behind an opaque finish. Tinted transparent housings change the colour while retaining that visible-internals effect.
The trade-off is that internal details remain on show. Components, wiring associated with modifications and assembly alignment become part of what you see. Decide whether you like that appearance before choosing a transparent build.
Do not judge strength from transparency alone. Inspect the actual shell’s moulding, hinge area and assembled fit instead of assuming that every clear housing behaves alike. Colour and transparency are appearance choices, not a durability specification.
Themed shells: best for a personalised display piece
A themed shell suits a console you want to associate with a favourite character or game series. The design can become the main reason you choose that particular exterior. Inspect both the lid and the lower housing so the complete design meets your expectations.
The limitation is provenance. A themed replacement housing does not turn a refurbished console into an original Nintendo special edition. Keep the distinction clear when buying, documenting or later describing the handheld.
For a themed purchase in 2026, ask whether the exterior is original or aftermarket and what hardware sits inside it. A design name identifies the appearance; it does not establish the screen, battery condition or charging modifications.
Why shell compatibility and the finished result vary
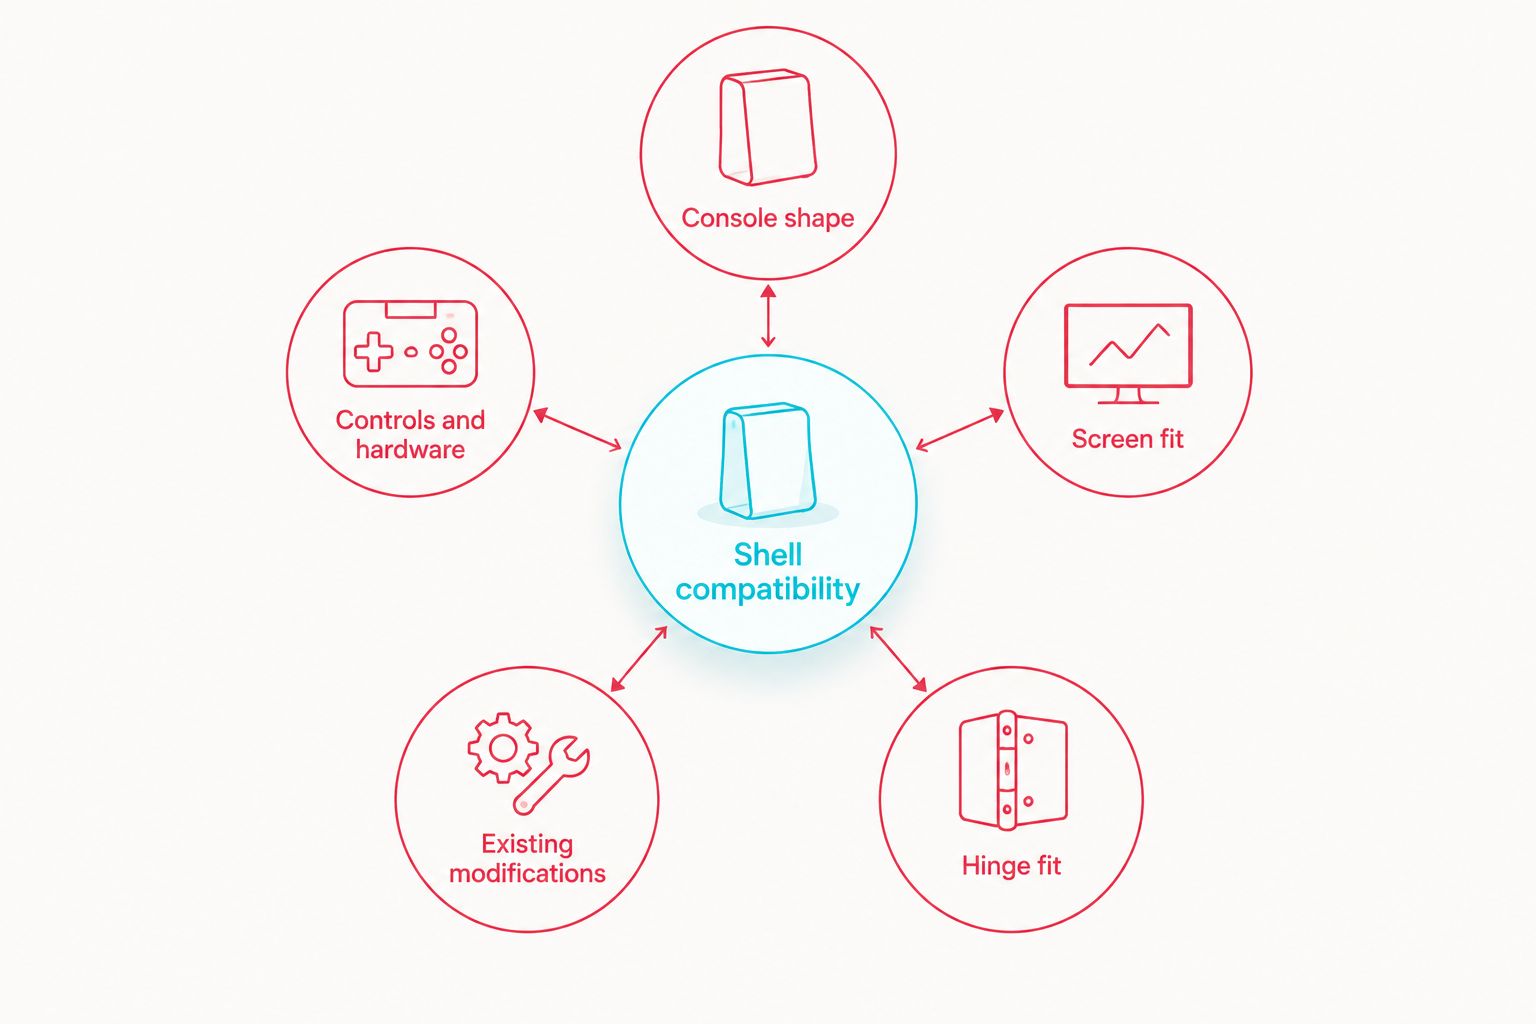
The correct replacement depends on the build you actually have. These checks matter more than choosing a colour first:
- Console shape: Use an SP housing, not a shell intended for the wider, non-folding Game Boy Advance.
- Screen fit: Confirm compatibility with the installed display and its mounting arrangement before ordering parts.
- Hinge fit: Establish whether the replacement uses the existing hinge components or requires compatible replacements.
- Controls and hardware: Check which buttons, membranes, screws and other small parts are included or must be transferred.
- Existing modifications: Identify changes such as a replacement display or charging port before selecting the housing.
- Originality: Decide whether preserving the original exterior matters before separating and storing its parts.
Shell colour does not tell you which of these requirements a kit meets. Read the installation instructions for the exact housing and display combination. If those instructions do not establish compatibility, resolve that question before dismantling the console.
What does changing the shell involve?
A shell swap transfers the working components into a different housing. The sequence below explains the scope; it does not replace the installation instructions for your exact parts. If you are unfamiliar with ribbon connectors and hinge assembly, choose professional installation rather than learning on a valued console.
- Identify the build. Record the fitted screen, charging arrangement and existing modifications. Photograph the console’s condition and confirm that it works before opening it.
- Confirm the parts. Match the shell to the display and establish which small components you must reuse. Have the appropriate tools and the relevant installation instructions ready.
- Remove power. Switch off, disconnect the charger and remove the battery before working inside. Do not continue with a swollen or damaged battery.
- Disassemble carefully. Keep screws and small parts organised by location. Release connectors correctly rather than pulling attached cables or lifting components against resistance.
- Transfer and reassemble. Follow the instructions for routing the display cable, seating the hinges and positioning the controls. Do not force the housing closed to overcome a fit problem.
- Test the finished console. Check the display, controls, sound, cartridge reading and charging, along with lid movement and exterior alignment.
The display ribbon passes between the lower body and lid through the hinge area. That makes the SP more involved than a simple battery-cover replacement. A cable trapped during reassembly is a reason to stop and correct the fit, not tighten the screws further.
Can I change the shell without upgrading the screen?
Yes, you can retain the existing screen when changing a compatible SP housing. A shell-only replacement does not require an IPS upgrade, but the chosen housing must support the original display’s fit and mounting arrangement.
The original SP display has a native resolution of 240 pixels across and 160 pixels down, with a nominal 2.9-inch diagonal. Changing the housing does not alter those display specifications. Keep screen performance and exterior appearance as separate decisions.
Can I combine a new shell with an IPS screen upgrade?
Yes, a replacement shell and an IPS upgrade can form part of the same build. Confirm that the exact housing supports the exact screen kit before buying either component; an SP-compatible label alone does not resolve every installation detail.
In 2026, an IPS V5 description still needs supporting installation information. Check the kit’s mounting, cable-routing and control requirements rather than assuming that a version label guarantees compatibility with any shell.
Does a replacement shell change which games the SP plays?
No, a shell-only replacement does not change game compatibility. The retained motherboard and cartridge hardware determine that function, not the exterior colour or artwork.
Test a known-working cartridge before and after the work. That comparison helps you identify a problem introduced during assembly instead of confusing it with an existing fault.
Buying a finished custom console instead of reshelling your own
Retrofit suits Australian retro gaming enthusiasts who want a professionally refurbished Game Boy Advance SP rather than a DIY shell project. The business sells modded consoles and provides repair and upgrade services. Its range includes different exterior styles, so you can assess a finished-console route alongside modifying a handheld you already own.
The limitation is that a named edition is not confirmation of a bespoke shell-swap service for your particular console. If you want to retain your own motherboard or request a specific colour combination, establish the scope before committing. Check the exact listing for its screen and charging configuration rather than applying specifications from another edition.
| Finished-console example | Best for | Appearance choice | What to check |
|---|---|---|---|
| Game Boy Advance SP – Stealth Black Edition | A restrained black design | Stealth Black edition | Exact screen, charging configuration and included components |
| Game Boy Advance SP – Transparent Purple Edition | A transparent-colour build | Transparent Purple edition | Interior appearance, assembly photographs and fitted hardware |
The Retrofit Game Boy Advance SP examples below illustrate different exterior choices. Choose between them on appearance only after confirming the technical configuration you want; neither edition name replaces a specification check.


What should you check after the shell is changed?
Start with the mechanical fit before judging the colour. The lid should open and close without binding, the housing should sit together correctly, and the controls should return after each press. Stop if you find a trapped cable, an uneven closure or a hinge that requires force.
Then test the functions you checked before disassembly:
- Load a known-working cartridge and check that gameplay starts normally.
- Inspect the display for missing image areas, flickering or new visual faults.
- Test the directional pad, face buttons, shoulder buttons, Start and Select.
- Check speaker output and the volume control.
- Confirm charging behaviour using equipment appropriate to the fitted charging system.
For a 2026 refurbished purchase, request clear confirmation of testing rather than accepting appearance as a substitute. A successful reshell should leave you with a usable handheld, not just a different-looking one.
FAQ
Can I choose a custom Game Boy Advance SP shell colour?
Yes, you can change the exterior colour with a compatible replacement SP housing. Confirm the housing matches the fitted screen and existing modifications before buying parts.
Can I use a normal Game Boy Advance shell on an SP?
No, the original Game Boy Advance and the folding Game Boy Advance SP use different housings. Choose a shell specifically intended for the SP and your display configuration.
Does a shell swap need soldering?
A shell-only transfer generally does not require soldering when you retain the existing electronics and fitted components. Additional screen controls or charging modifications have their own installation requirements.
Will changing the colour make the screen brighter?
No, changing the shell colour does not increase screen brightness. A display upgrade is a separate modification that requires its own compatibility checks.
Is a transparent SP shell stronger than a solid one?
Transparency alone does not establish shell strength. Assess the specific housing’s material, moulding, hinge area and assembled fit rather than judging durability by colour.
Will a themed replacement shell make my console an original special edition?
No, a themed replacement shell does not establish original Nintendo special-edition provenance. Describe the console as reshelled or customised and keep records of the work.
Does Retrofit offer alternatives to replacing the shell myself?
Retrofit sells professionally refurbished and modded Game Boy Advance SP consoles and provides repair and upgrade services. Confirm the exact scope if you want work on a console you already own.
One last thing
Photograph and keep the original housing if it is intact. Label it so you can identify which console it came from, and record any replacement parts fitted during the work. That preserves a clear history without pretending the customised exterior is factory-original.
Your best colour choice is the one you still want after checking screen compatibility, hinge fit and originality. Settle those decisions first. Then choose the finish.