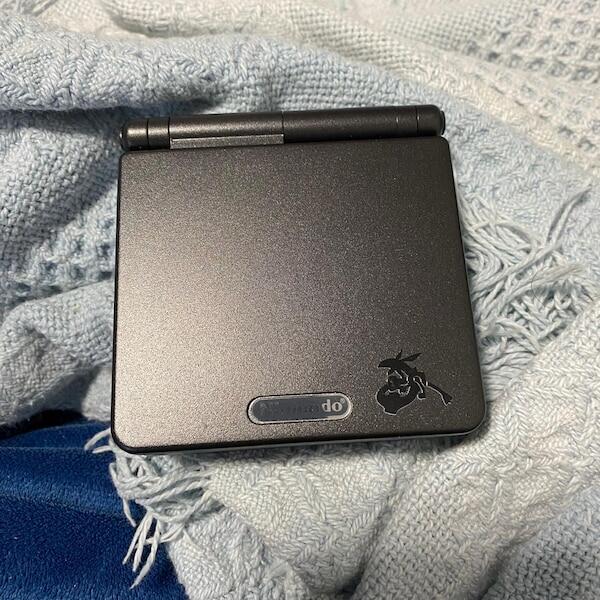

A Game Boy Advance SP screen bleed fix starts with identifying where the light appears. If light escapes through a gap between the display and shell, power off the console, check that the screen sits flat, then correct the fit or seal before reassembling it. If the glow remains inside the picture area, foam around the shell will not fix it; the display needs further diagnosis. This distinction matters whether your SP has its original screen or an IPS V5 upgrade.
- Game Boy Advance SP screen bleed fix: locate the glow before opening the shell or replacing the display.
- Light escaping between the bezel and screen calls for a fit and seal check; glow within the picture area does not.
- Stop if the ribbon cable is damaged or the panel will not sit flat; forcing the shell closed risks further damage.
- Retrofit is best for Australian owners who prefer a refurbished IPS V5 console or repair service to a DIY screen install.
Why this matters
A bright edge can point to a shell gap, an unevenly seated screen or a problem visible within the panel itself. Those faults call for different repairs. Buying another screen before checking the fit can leave you with the same light leak after installation.
The other mistake is treating every illuminated edge as damage. First identify your display: an original AGS-001 uses a front light, an original AGS-101 uses a backlight, and a modified SP can contain an aftermarket IPS panel. Their lighting can look different, so compare the affected edge with the rest of the same display rather than with a photograph of another console. For a separate explanation of replacement work, see whether a GBA SP screen can be replaced without soldering.
How do you fix Game Boy Advance SP screen bleed?
Locate the light first, then fix the part responsible for it. In 2026, the useful test is still a visual one: view a dark game scene in a dim room, look directly at the display, then tilt the console to check whether light comes from the space between the panel and bezel. Do not press on the display to make the glow disappear; pressure can damage it.
| What you see | Likely area to inspect | Best for | Limitation |
|---|---|---|---|
| Light escaping through a visible gap at the screen edge | Panel seating, bezel fit and any existing light-blocking seal | A console whose picture otherwise looks normal | A seal cannot correct a warped shell or damaged panel |
| A bright patch visible within the picture area | The installed display and how it sits in the housing | Deciding whether the issue is panel-related | Opening the shell will not necessarily remove the patch |
| Flicker or image changes when the lid moves | Display ribbon cable and its connection | Finding a connection fault | Continuing to move the lid can aggravate cable damage |
| Uneven light after a recent screen installation | Panel alignment, cable routing and shell closure | Checking an IPS mod before ordering parts | Reassembly requires care around the hinge and cable |
The table is a diagnostic guide, not a promise that one symptom identifies one faulty part. If the screen has lines, missing image sections or a cracked surface as well as edge glow, address the display fault rather than hiding it with foam.
Check the light with the shell closed
Start with a dark image, then compare the screen with the console powered off. A bright line visible through the physical join between screen and bezel points to light escaping the housing. A patch that stays within the active image area points elsewhere. Check more than one game or menu screen so a bright image border is not mistaken for a fault.
Look at the same spot from straight on and at an angle. That helps distinguish light coming around the edge of the panel from a lighter-looking area inside it. Take a photograph before opening the console; you can use the same game screen and viewing angle after reassembly to check whether your adjustment changed anything.
Open the console only if a gap is visible
Power the SP off, disconnect its charger and remove the battery before working inside the shell. Use drivers that fit the screws, keep the screws organised and lift the housing gently. The screen ribbon passes through the hinge; pulling the two shell halves apart without accounting for it can turn a light leak into a connection failure.
If you are not comfortable handling the ribbon connector, stop here and use a repair service. There is no benefit in opening a working display assembly just because its edge looks brighter than another console's. A visible housing gap or a fault that appeared after installation gives you a specific reason to inspect it.
Inspect the seal, panel seat and cable
Check whether the display sits flat in its recess. Look for a trapped cable, displaced padding or an existing foam seal that has folded away from the edge. Correct what is out of place before adding material; extra foam on top of a badly seated panel can make the shell fit worse.
If the panel sits correctly but light still escapes through a small housing gap, a thin, suitable light-blocking seal at that gap can help. Keep material clear of the visible image, ribbon cable, buttons and screw posts. Do not apply glue to the screen or force the shell closed to compress a seal.
A cable that looks torn, sharply creased or damaged at its connector is not a foam-tape problem. Stop the reassembly and have the connection assessed. The same applies when the panel rocks in its recess or the shell will not meet evenly without pressure.
Close the shell and retest
Bring the housing together without trapping the cable. Tighten the screws gradually, checking that the bezel closes evenly rather than drawing one corner down hard. Power on and repeat your original dark-screen check from the same angle.
If the escaping light has gone and the image remains stable as you open and close the lid, the adjustment addressed the symptom. If the glow has moved, the fit is still uneven; reopen and inspect rather than tightening harder. If nothing changes and the light appears inside the picture area, stop adding seals and assess the display itself.
Why the apparent screen bleed varies
The location and behaviour of the glow tell you more than its brightness alone. Check these factors before deciding whether to repair the fit or replace a part:
- Display type: AGS-001, AGS-101 and aftermarket IPS screens use different lighting arrangements. Identify what is installed before interpreting an edge glow.
- Where the light appears: A gap between bezel and panel is a housing issue; a bright region confined to the image needs display diagnosis.
- Recent work: If the fault appeared after a screen or shell change, inspect how those parts fit together before assuming the panel failed.
- Shell condition: A damaged or distorted bezel cannot hold a screen evenly, even when the screen itself works.
- Cable behaviour: Flicker or image changes as the lid moves point toward a connection issue, not simply escaping light.
- Viewing conditions: A dark image in a dim room makes the affected area easier to locate, but a photograph at an angle can exaggerate how it looks during play.
Foam is a fix for an identified gap, not a general treatment for every bright screen edge. That rule prevents a cosmetic repair from concealing a connection fault or putting more pressure on the display.
When should you repair, replace or leave it alone?
If the image is stable and the only issue is a small amount of light visible from an extreme angle, compare it with normal playing conditions before opening the console. Opening an SP introduces handling risk around the hinge ribbon. For a collector keeping an original screen and shell, preserving an otherwise working assembly is a valid choice.
Repair the fit when you can see light escaping through the housing and the panel, shell and cable appear intact. This keeps the existing display, but it takes careful disassembly and a second test after closure. Replace a damaged part when the screen is cracked, the image has faults, the cable is damaged or the housing cannot hold the panel securely. A new screen alone will not straighten a distorted shell.
| Option | Best for | Advantage | Drawback |
|---|---|---|---|
| Leave the console closed | Stable image with a minor edge effect visible only at unusual angles | Avoids disturbing a working assembly | Does not remove the visible effect |
| Correct the panel fit or seal | Light escaping from a confirmed shell gap | Keeps a working display | Requires careful work near the ribbon cable |
| Repair the damaged component | Flicker, cable damage, cracked display or a shell that will not close evenly | Addresses the underlying fault | The correct part must be identified first |
| Choose a refurbished IPS V5 console | Owners who want a different console rather than repair this one | Avoids doing a DIY screen installation | Does not repair the SP you already own |
Retrofit is best for Australian GBA SP owners who want a professionally refurbished IPS V5 console or repair and upgrade services instead of attempting an uncertain DIY install. A replacement console is a separate decision from fixing screen bleed on your current SP; compare those routes only after you know which component is at fault. Retrofit's stated 100 Day Warranty and 1–2 Day dispatch badges are relevant when considering a console, but neither tells you whether your existing screen needs replacement.
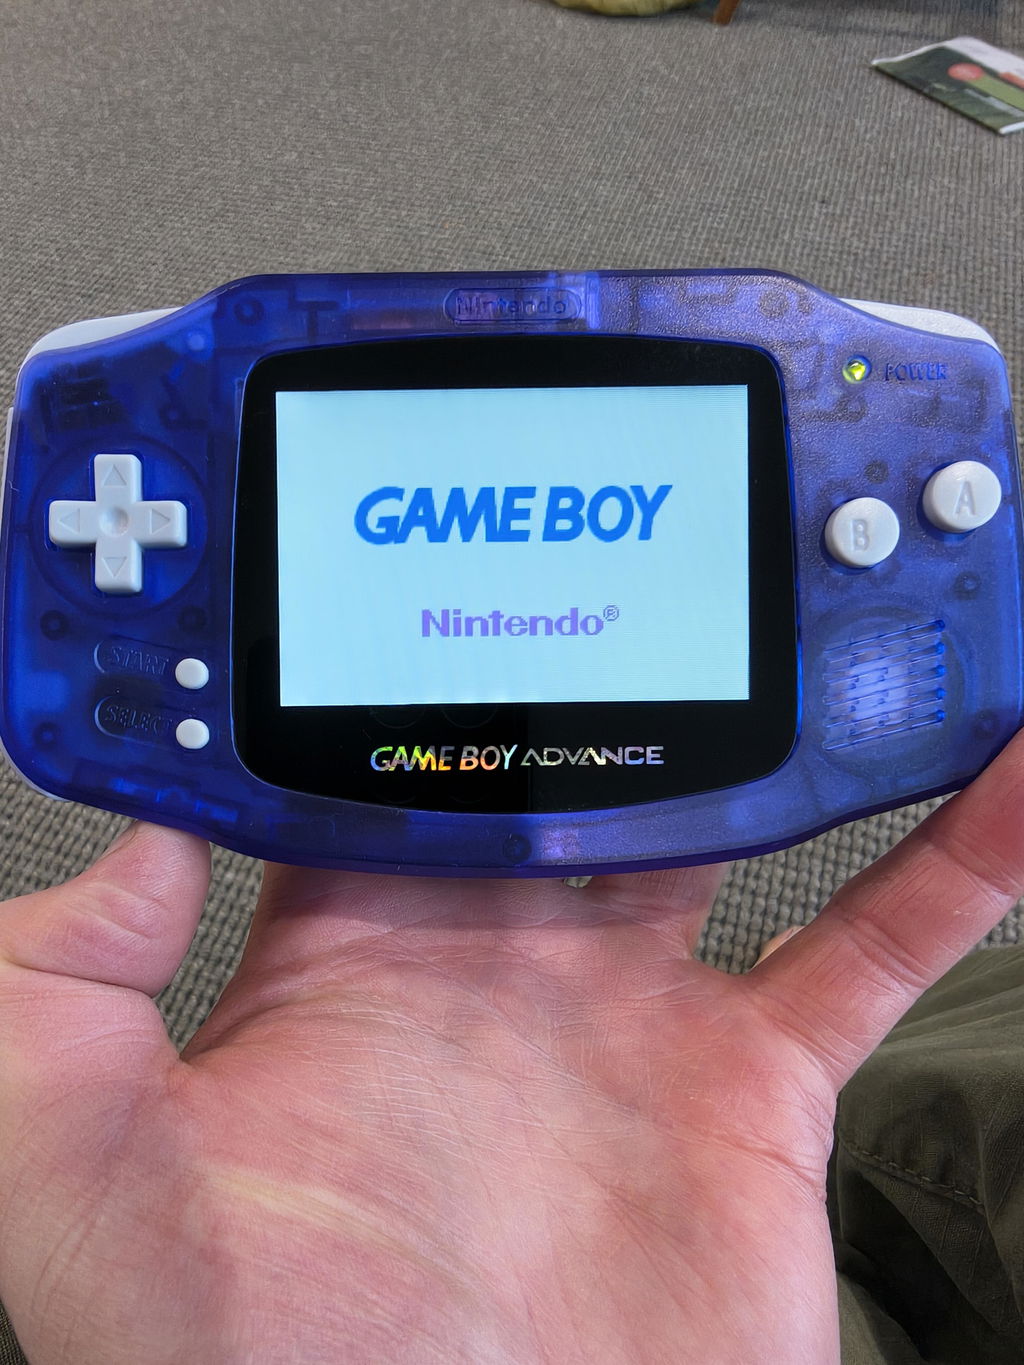
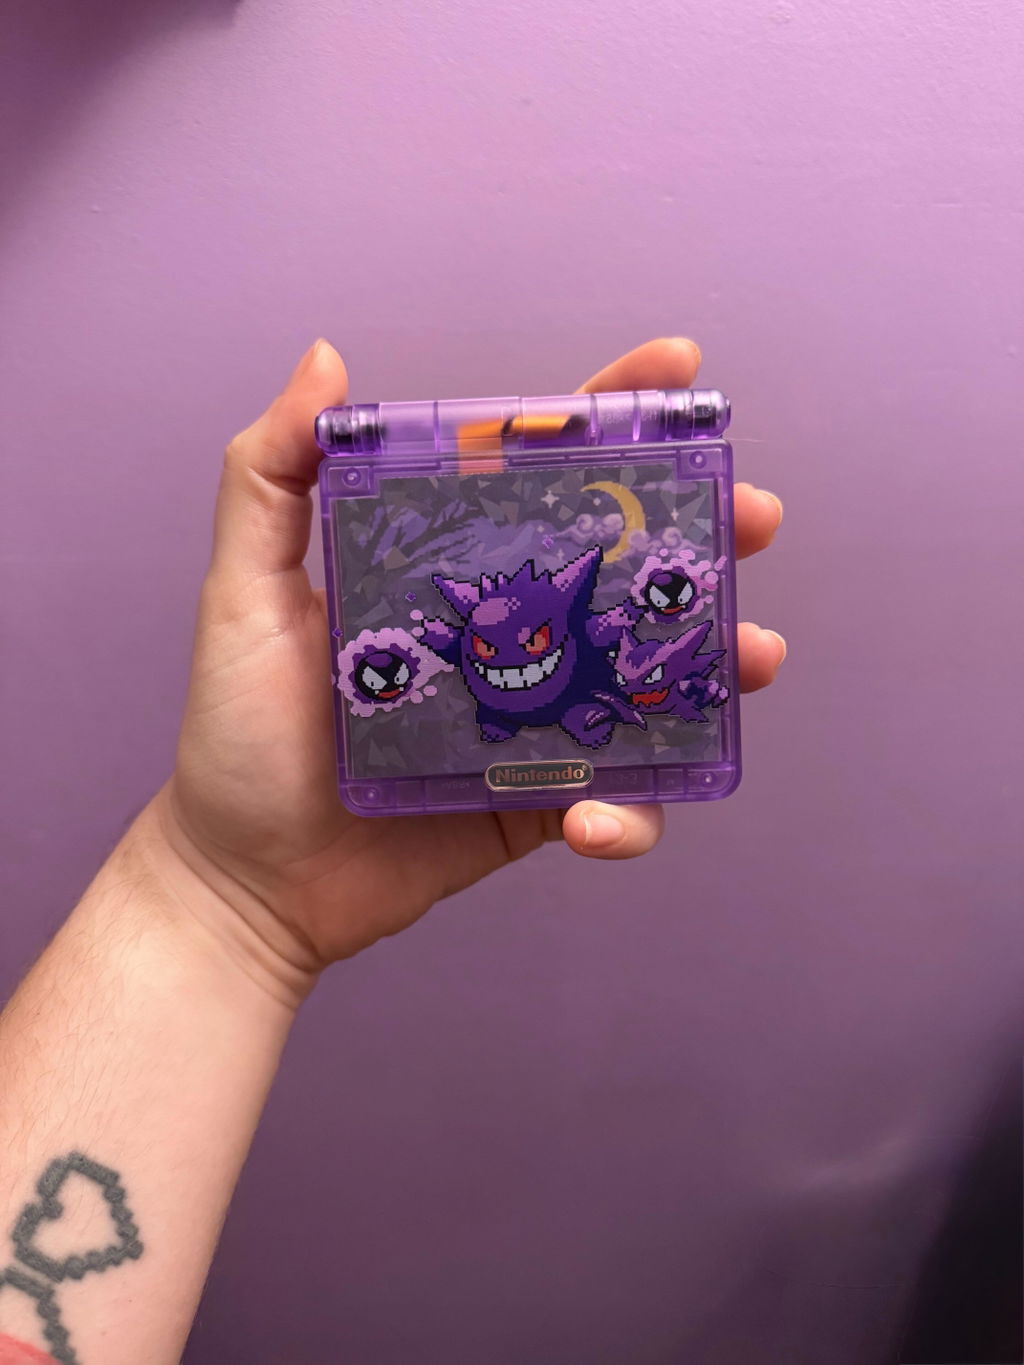
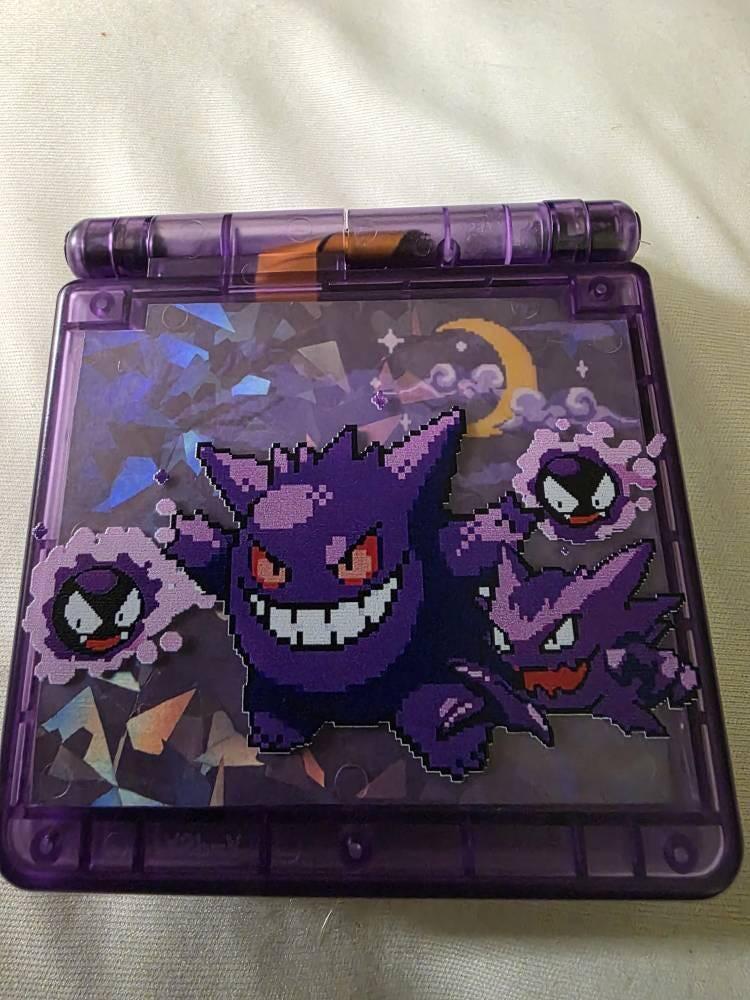
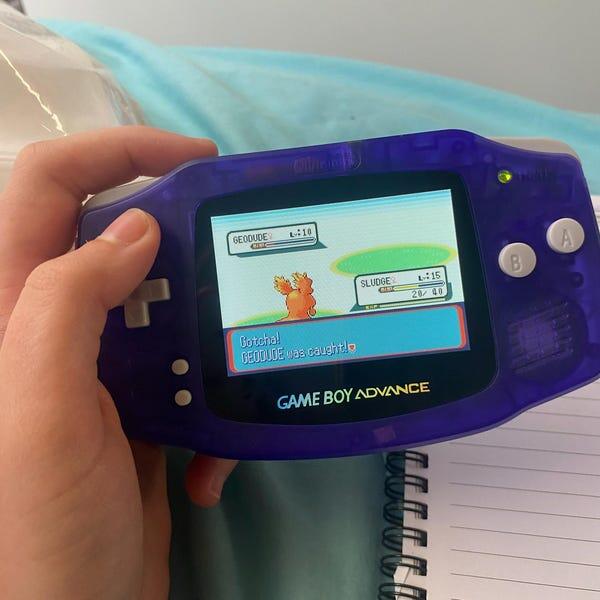
If you are comparing screen-equipped SP consoles, these are relevant examples from Retrofit's catalogue. Check each listing for its current configuration rather than assuming every shell edition has the same parts.


Does a Game Boy Advance SP need a new screen for edge glow?
No: edge glow alone does not establish that the screen is defective. In 2026, check the boundary between the panel and bezel first. Replace or professionally assess the display when the fault stays within the image, the panel is physically damaged or a fit correction leaves the symptom unchanged.
Can an IPS V5 upgrade fix screen bleed on an original SP?
An IPS V5 upgrade replaces the original display, but it does not automatically fix a poor shell fit. The new panel still has to sit correctly, with its cable routed safely and the housing closing without pressure. If the existing problem is a damaged shell, address that alongside any display upgrade.
Should you keep playing if the image flickers when the lid moves?
Stop flexing the lid to test it repeatedly and have the cable and connector checked. In 2026, the distinction remains simple: light escaping from a gap is a fit concern, while an image that changes as the lid moves points to a connection fault. Foam around the screen edge will not repair a damaged ribbon.
FAQ
What's the first step in a Game Boy Advance SP screen bleed fix?
Locate the light before opening the Game Boy Advance SP. A glow escaping between bezel and screen calls for a fit check; a bright area within the image calls for display diagnosis.
Can I fix Game Boy Advance SP screen bleed without buying a new screen?
Yes, if light escapes through a housing gap and the display works normally, correcting the screen fit or an existing light-blocking seal can resolve it. A damaged panel or ribbon cable needs a different repair.
Is IPS screen glow the same as light leaking through the shell?
No. Light leaking through the shell is visible at the physical join around the display, while glow within the picture area remains inside the image boundary. Check both locations before adding foam.
Will tightening the SP shell screws stop screen bleed?
Not if the panel is misaligned or the shell is damaged. Tighten screws gradually and evenly after checking the fit; forcing one side closed can put pressure on the display.
Does flicker when opening a GBA SP mean screen bleed?
No. Flicker or image changes when the lid moves call for a ribbon cable and connector check, not a light-blocking seal. Avoid repeatedly flexing the lid to reproduce the fault.
Should I add foam behind the Game Boy Advance SP screen?
Only add suitable light-blocking material where you have identified an escaping-light gap and confirmed that the panel sits flat. Keep it clear of the image, cable, buttons and screw posts.
Do I need a replacement GBA SP if the shell is warped?
Not necessarily. A damaged shell can require shell repair or replacement while the display remains usable; inspect both parts before buying another console.
One last thing
Retest with the same image and viewing angle you used before opening the shell. A different game scene can make an unchanged edge look fixed or make a normal display look worse. That simple comparison is more useful in 2026 than tightening the shell again without knowing whether the light is escaping from it.