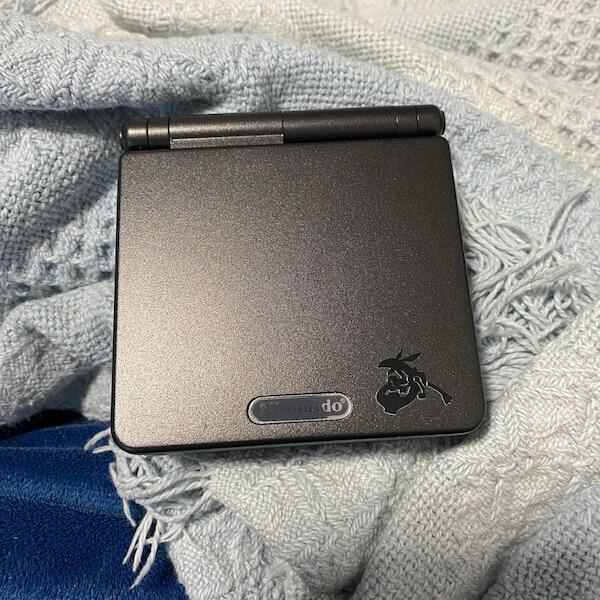

Game Boy Advance SP shoulder button replacement cost depends on whether the fault is in the plastic trigger, its spring, the motherboard-mounted switch or the surrounding circuit. Get a diagnosis and an itemised repair quote before buying replacement buttons. A parts-only listing does not cover soldering, fault-finding, testing or postage for a professional repair.
- Game Boy Advance SP shoulder button replacement cost depends on the failed component, not just the visible button.
- Replacing a plastic trigger does not fix a failed motherboard-mounted switch.
- Retrofit offers Game Boy Advance SP repair services; request a diagnosis before authorising replacement parts.
- Compare quotes covering the same fault, labour, testing and return postage.
Why this matters
The Game Boy Advance SP has 2 shoulder buttons, labelled L and R. Each visible trigger operates an internal switch, so a button that feels wrong and a button that fails to register do not automatically need the same repair.
Retrofit offers Game Boy Advance and GBA SP repair and upgrade services. For a repair enquiry in 2026, describe what happens when you press the affected trigger rather than requesting a particular part straight away.
That distinction protects your original hardware. It also gives the repairer a useful starting point: a loose trigger, a sticking trigger and an electrically unresponsive switch are different symptoms.
How much does it cost to replace Game Boy Advance SP shoulder buttons?
The useful figure is the total for your diagnosed fault, not the advertised cost of a loose button. Ask the repairer to separate diagnosis, replacement parts, labour, testing and transport, then confirm which charges apply before work starts.
A quote for replacing a plastic shoulder trigger is not equivalent to a quote for desoldering a failed switch. Use this breakdown to check what a proposed repair actually covers.
| Repair scope | What the work addresses | Best for | Limitation |
|---|---|---|---|
| Trigger or spring work | The external button's movement, seating or return mechanism | A confirmed mechanical fault | Does not repair a failed electrical switch |
| Switch replacement | The soldered switch that registers a shoulder-button press | A confirmed switch fault | Requires motherboard soldering and inspection |
| Board-level repair | Damaged connections, pads or other circuit faults | A fault extending beyond the switch | Needs a diagnosis beyond swapping parts |
| Cleaning and inspection | Contamination or an obstruction affecting operation | A fault traced to dirt or residue | Does not reverse physical wear or broken components |
For a 2026 Australian repair quote, ask whether the total is in Australian dollars and includes GST where applicable. Also establish whether an inspection charge remains payable if you decline the repair.
Do not treat a component listing as a completed repair quote. The repairer still needs to establish the cause, access the affected area, carry out the work and verify that the console operates correctly afterwards.
Plastic trigger or spring: a mechanical repair
Best for: a confirmed problem with trigger movement or return. The visible L and R buttons are mechanical actuators; they are not the electrical switches themselves.
A trigger that stays depressed needs inspection for interference, incorrect seating, spring problems or damage. A cracked trigger also warrants checking the surrounding shell, because replacing the button alone will not correct a damaged mounting point.
The advantage of a correctly diagnosed mechanical repair is its limited scope. The drawback is that a new trigger cannot restore an electrical connection inside a failed switch.
Tell the repairer whether the problem began after a drop, shell replacement or previous repair. That history directs inspection without pretending that the symptom proves the cause.
Shoulder-switch replacement: motherboard soldering
Best for: a confirmed failure of the motherboard-mounted L or R switch. Replacing that component involves desoldering and soldering, rather than simply lifting out a plastic button.
A tactile click does not establish that the switch closes electrically. Equally, an unresponsive shoulder button does not prove the switch is faulty: the actuator and circuit connections also need checking.
The benefit of switch replacement is that it addresses a failed component directly. The risk sits in the workmanship, because excessive heat or force during removal can damage the board's solder pads.
Ask whether the repairer will inspect the mounting and electrical connections before fitting a replacement. For 1 faulty button, request a diagnosis of that side rather than automatically authorising replacement of both switches.
Board damage: repair beyond the switch
Best for: a fault involving damaged solder pads, tracks or connections. A replacement switch needs a sound electrical connection to the motherboard; fitting a new component does not repair a broken circuit path by itself.
Previous soldering attempts, corrosion or physical damage should be disclosed before assessment. Photographs help explain the history, but they do not replace an inspection of the board.
Board-level repair preserves the existing motherboard when the fault is repairable. Its limitation is the additional diagnostic work needed to establish the damage and an appropriate repair method.
Set an approval boundary before sending the console. If inspection reveals work beyond the original scope, ask the repairer to explain the findings and obtain permission before continuing.
Why Game Boy Advance SP shoulder button repair costs vary
The scope of work matters more than the name of the button. Check these factors when comparing repair proposals:
- Failed component: a plastic trigger, spring, soldered switch and damaged circuit require different work.
- Affected side: identify L, R or both; do not assume that 2 switches need replacement because one side fails.
- Shell condition: cracked mounting points or interference need assessment alongside the trigger.
- Board condition: corrosion, damaged pads and previous repair work change the job beyond a routine component swap.
- Existing modifications: tell the repairer about screen, charging and shell changes before disassembly.
- Service scope: establish whether diagnosis, functional testing, GST where applicable and return postage are included.
A quote with fewer included tasks is not directly comparable with a quote covering diagnosis and completed testing. Ask each repairer to describe the work in writing, then compare like with like.
Do not add unrelated upgrades merely because the console is being opened. Request separate approval for screen, battery, charging or cosmetic work so the shoulder-button repair remains a clear decision.
How to prepare a useful repair enquiry
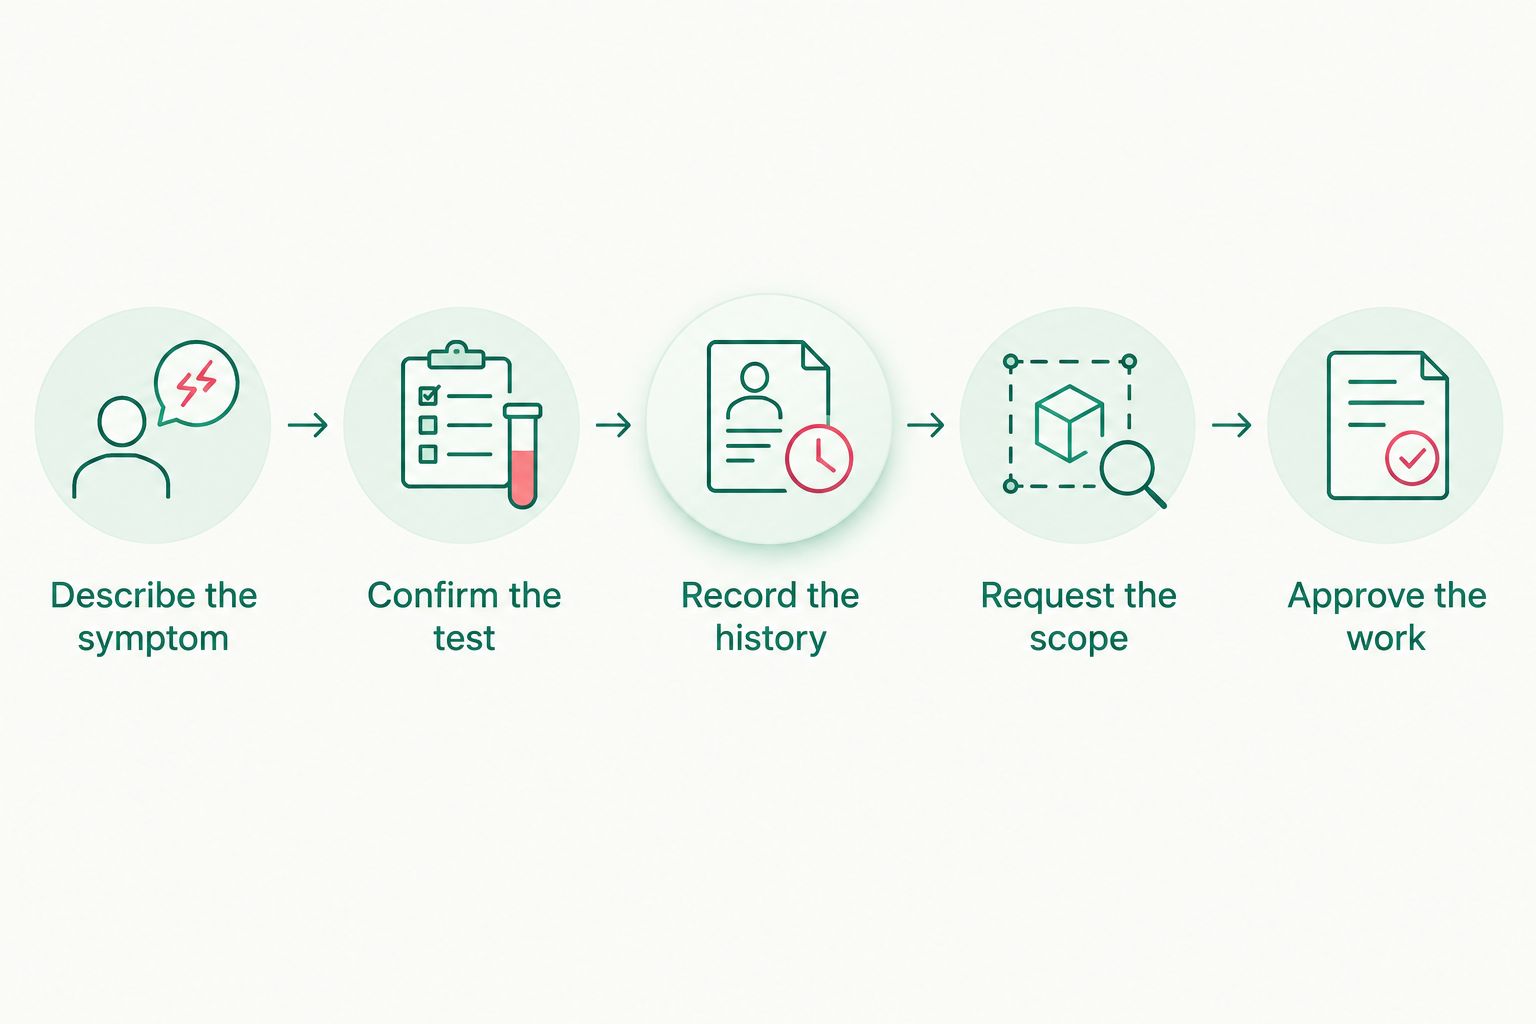
Give the repairer a reproducible symptom, a short history and a clear approval request. You do not need to open the console to make the initial enquiry useful.
- Describe the symptom. State whether L or R fails to register, sticks, feels loose or works only with pressure from a particular direction.
- Confirm the test. Use a known-working game with an identifiable shoulder-button action, and explain that action in the enquiry.
- Record the history. Mention drops, liquid exposure, shell changes and earlier soldering work without guessing which one caused the fault.
- Request the scope. Ask for the diagnosed component, proposed work, included testing and any inspection or transport charges.
- Approve the work. Require confirmation before additional faults or unrelated upgrades become part of the job.
These steps turn “the shoulder button is broken” into information a technician can use. Keep the description factual: “R clicks but does not register in this game” is more useful than “the switch definitely needs replacing”.
Keep a copy of the agreed scope with your repair correspondence. For a 2026 enquiry, date any photos or symptom notes so the repairer can distinguish the current condition from an earlier repair attempt.
Can you replace the shoulder buttons yourself?
Mechanical button replacement and electrical switch replacement are different DIY jobs. Opening the console exposes small parts and connections, while replacing the soldered switch requires board-repair skills and appropriate equipment.
A plastic-trigger job is best suited to someone comfortable with careful handheld disassembly. Its advantage is direct access to a confirmed mechanical fault; its limitation is that opening the shell does not establish whether the electrical switch works.
Switch replacement is best suited to an experienced soldering technician. Removing a component without lifting pads requires control of heat and mechanical force, so a console you want to preserve is not a suitable practice board.
If you proceed with disassembly, disconnect external power and remove the battery before internal work. Use a model-specific repair guide, keep small parts organised and stop if screws or components resist rather than forcing them.
Do not spray cleaner through the shoulder-button gap as a substitute for diagnosis. An uncontrolled application does not identify the fault and can carry residue into other parts of the console.
Should you replace both shoulder switches together?
Replace both switches only when inspection or testing supports that scope. A failure on L does not establish that R has also failed.
The case for addressing both sides is strongest when both show confirmed faults. The case against automatic replacement is equally clear: each additional soldered component creates extra work on otherwise functioning hardware.
Ask the repairer to test 2 shoulder buttons, even when only one needs repair. The assessment and the replacement decision are separate: checking both sides does not mean replacing both sides.
For an original console you collect as well as play, discuss whether serviceable original parts should remain in place. Keep that preference explicit before work begins.
Is repairing the shoulder buttons better than replacing the console?
Repair is the first option to assess when you want to retain your existing Game Boy Advance SP. It preserves the console you already own and lets you target a confirmed fault rather than replace unrelated working hardware.
Repair has a limitation: fixing L or R does not renew the battery, screen, hinge or charging system. If several areas need attention, obtain a separate assessment of the overall condition before deciding.
Retrofit is best for Australian Game Boy Advance SP owners seeking professional repair or refurbishment services. Ask about the specific shoulder-button fault rather than assuming that a refurbishment or upgrade package includes the work you need.
A replacement console is a separate purchase decision. Compare its documented condition and specifications with the diagnosed repair scope, and account for any personal or collecting value attached to your existing unit.
What should the repairer test before returning the console?
A successful shoulder-button repair needs more than a click. Ask for functional checks showing that L and R register normally and that the repaired trigger returns without sticking.
The post-repair check should include:
- Individual inputs: each shoulder button registers its intended action in a suitable test.
- Button return: each trigger moves freely and returns after release.
- Shell fit: the case does not obstruct the trigger or leave it partly pressed.
- Reassembly checks: the screen, sound and other controls still operate after the console is closed.
- Repair record: the completed work matches the scope you approved.
Do not accept “button replaced” as the whole description of the result. Ask which component was replaced and how operation was checked, especially when the original symptom was intermittent.
For a 2026 repair request, you can contact the repair team with the affected side, a symptom description and any relevant repair history. Confirm the assessment process before posting the console.
FAQ
How much does Game Boy Advance SP shoulder button replacement cost in Australia?
Game Boy Advance SP shoulder button replacement cost depends on the diagnosed fault and agreed repair scope. Request an itemised quote covering parts, labour, testing, any assessment charge and postage before authorising work.
Is replacing the plastic shoulder button enough to fix an unresponsive input?
Replacing the plastic shoulder button fixes an unresponsive input only when the actuator is the cause. A failed motherboard-mounted switch or damaged circuit needs a different repair.
Does replacing a Game Boy Advance SP shoulder switch require soldering?
Replacing the motherboard-mounted Game Boy Advance SP shoulder switch requires soldering. Replacing an external plastic trigger is a separate mechanical task.
Why does my GBA SP shoulder button click but not work?
A click confirms movement, not a working electrical connection. The switch and surrounding connections need testing before deciding which part to replace.
Should I replace both L and R shoulder switches at once?
Replace both shoulder switches only when their condition or test results justify it. Test both sides, but do not treat a fault on one side as proof that the other needs replacement.
Can Retrofit help with a Game Boy Advance SP shoulder-button fault?
Retrofit offers Game Boy Advance SP repair and upgrade services. Describe the shoulder-button symptom and ask for confirmation of the proposed assessment and repair scope.
What should I ask before sending my GBA SP away for repair?
Ask what the assessment covers, how additional work is approved and which transport charges apply. Include the affected button, the symptoms and any history of liquid exposure, modifications or previous repairs.
One last thing
A clicking shoulder button is not proof of a healthy switch. The plastic actuator can still move while the electrical contact fails to register, so judge the repair by its in-game response as well as its feel.
Before you approve any work, ask one question: which component has failed, and what test established that? A clear answer keeps a shoulder-button repair from becoming an unnecessary parts replacement exercise.