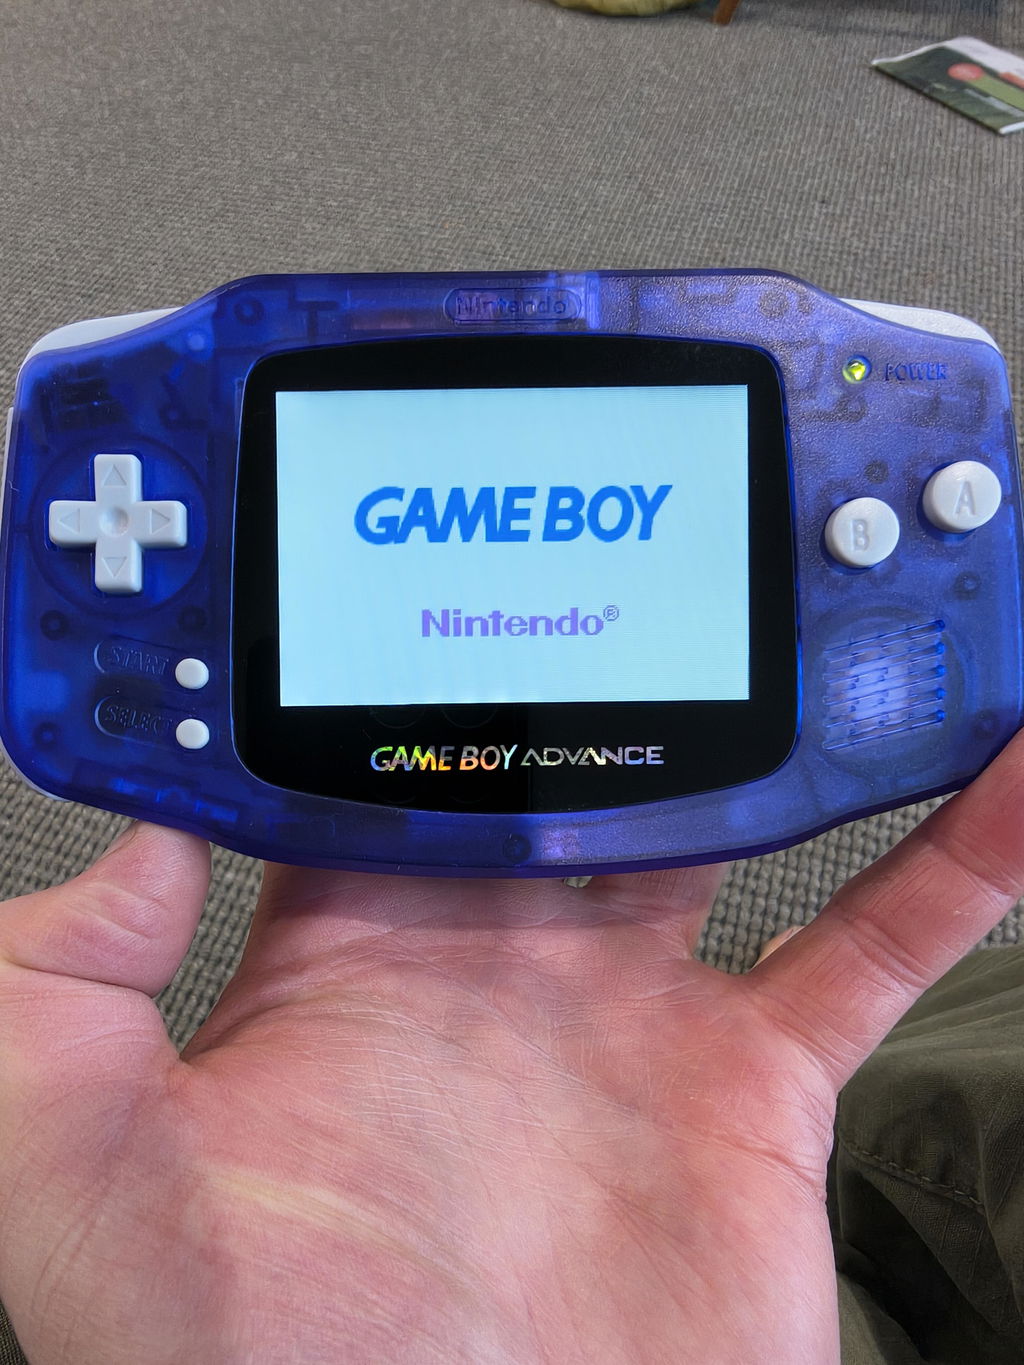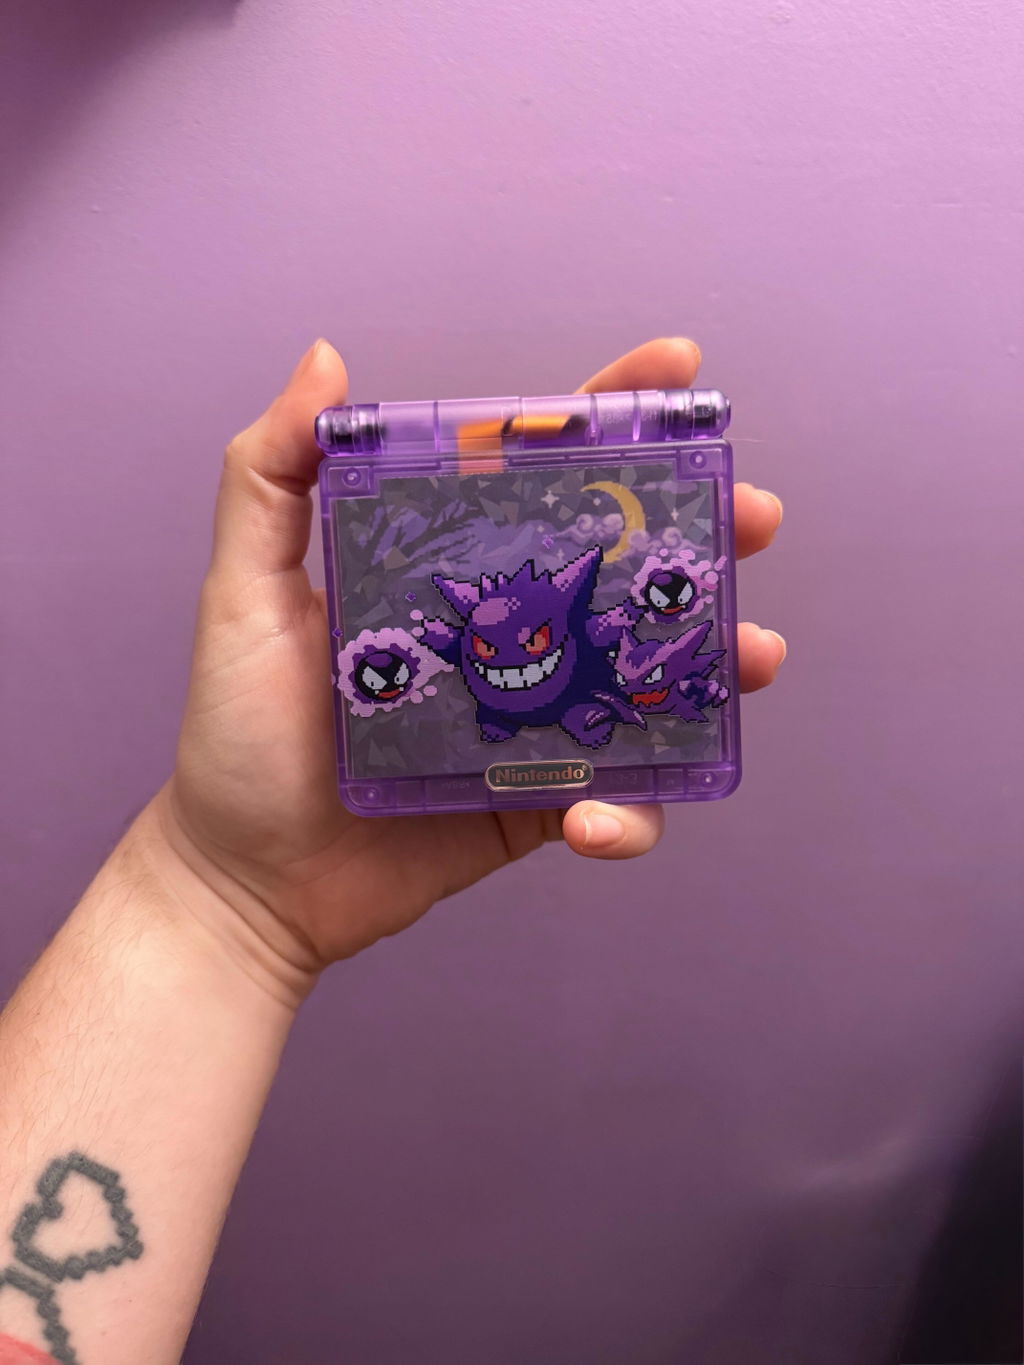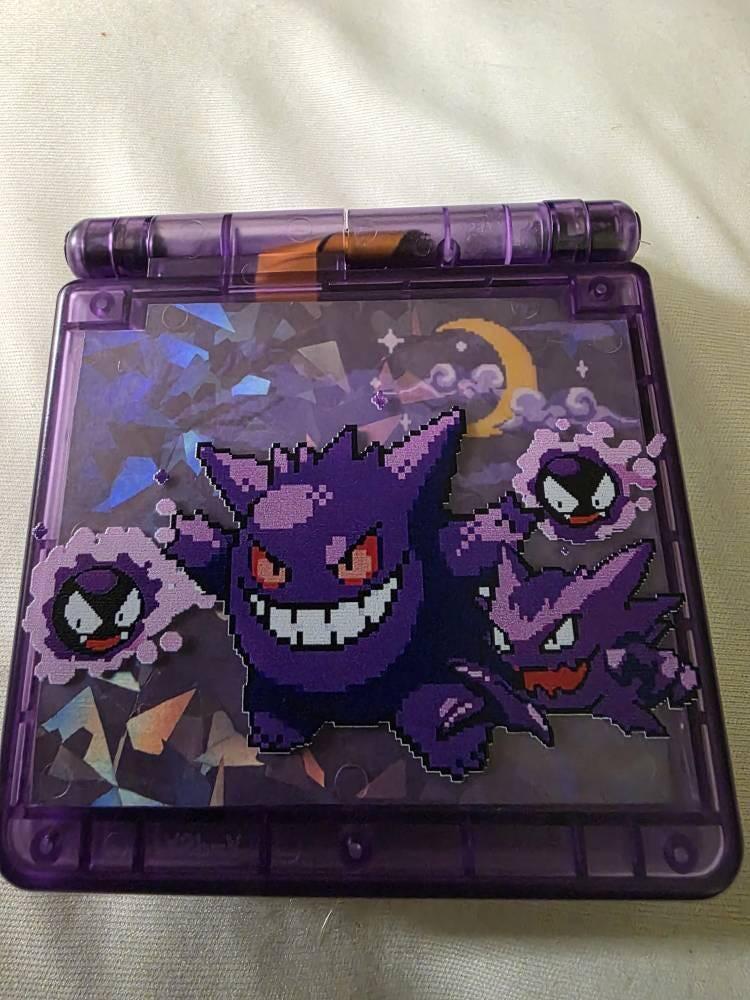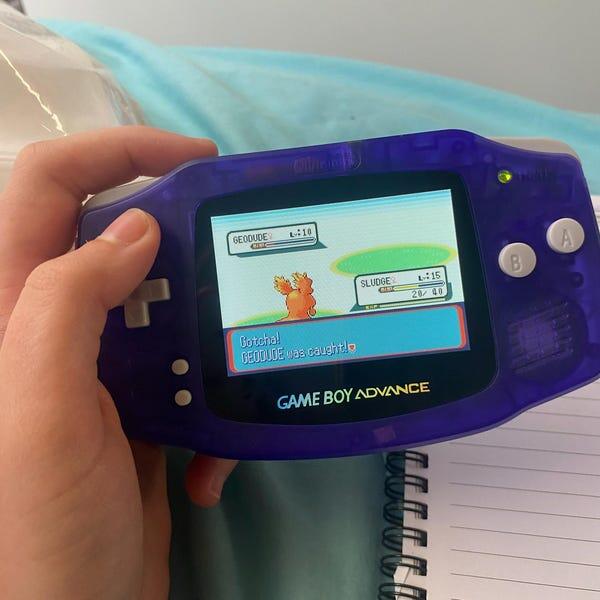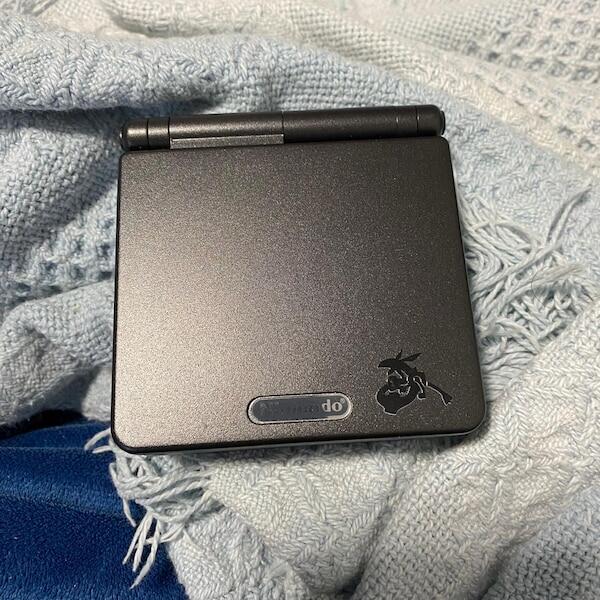

Yes. You can swap a Game Boy Advance SP shell without damaging the motherboard if you remove the battery first, disconnect the display ribbon carefully and lift the board without bending it or pulling on attached parts. The highest-risk moments are opening a ribbon connector, moving the board around the controls and routing the display cable through the hinge. In 2026, the safe rule is simple: stop when a part resists instead of using more force.
- You can swap Game Boy Advance SP shell without damaging motherboard if you disconnect the battery and handle the display ribbon carefully.
- Stop if the board, ribbon connector or hinge resists; identify what is still attached before continuing.
- Retro Fit is best for Australian collectors who prefer a professionally refurbished GBA SP to a DIY shell swap.
- A shell swap changes the housing; it does not fix a damaged motherboard or display.
Why this matters in 2026
A shell swap looks cosmetic, but the Game Boy Advance SP places the display cable through a moving hinge and connects it to the motherboard. The shell can be replaced; a torn cable or damaged board connector makes the job more involved. If the hinge is already cracked, identify the fault before dismantling the console; the guide to repairing a broken Game Boy Advance SP hinge covers that separate decision.
The motherboard is not the part you should pull against. Screws, connectors, cables and shell clips determine what can move next. Taking photos as you disassemble gives you a record of cable routing and part placement without relying on memory during reassembly.
Can a Game Boy Advance SP's shell be swapped without damaging the motherboard?
Yes. Work in the order below, and keep the original shell and fasteners organised until the rebuilt console passes its checks. This is a shell replacement procedure, not a motherboard repair or a screen upgrade.
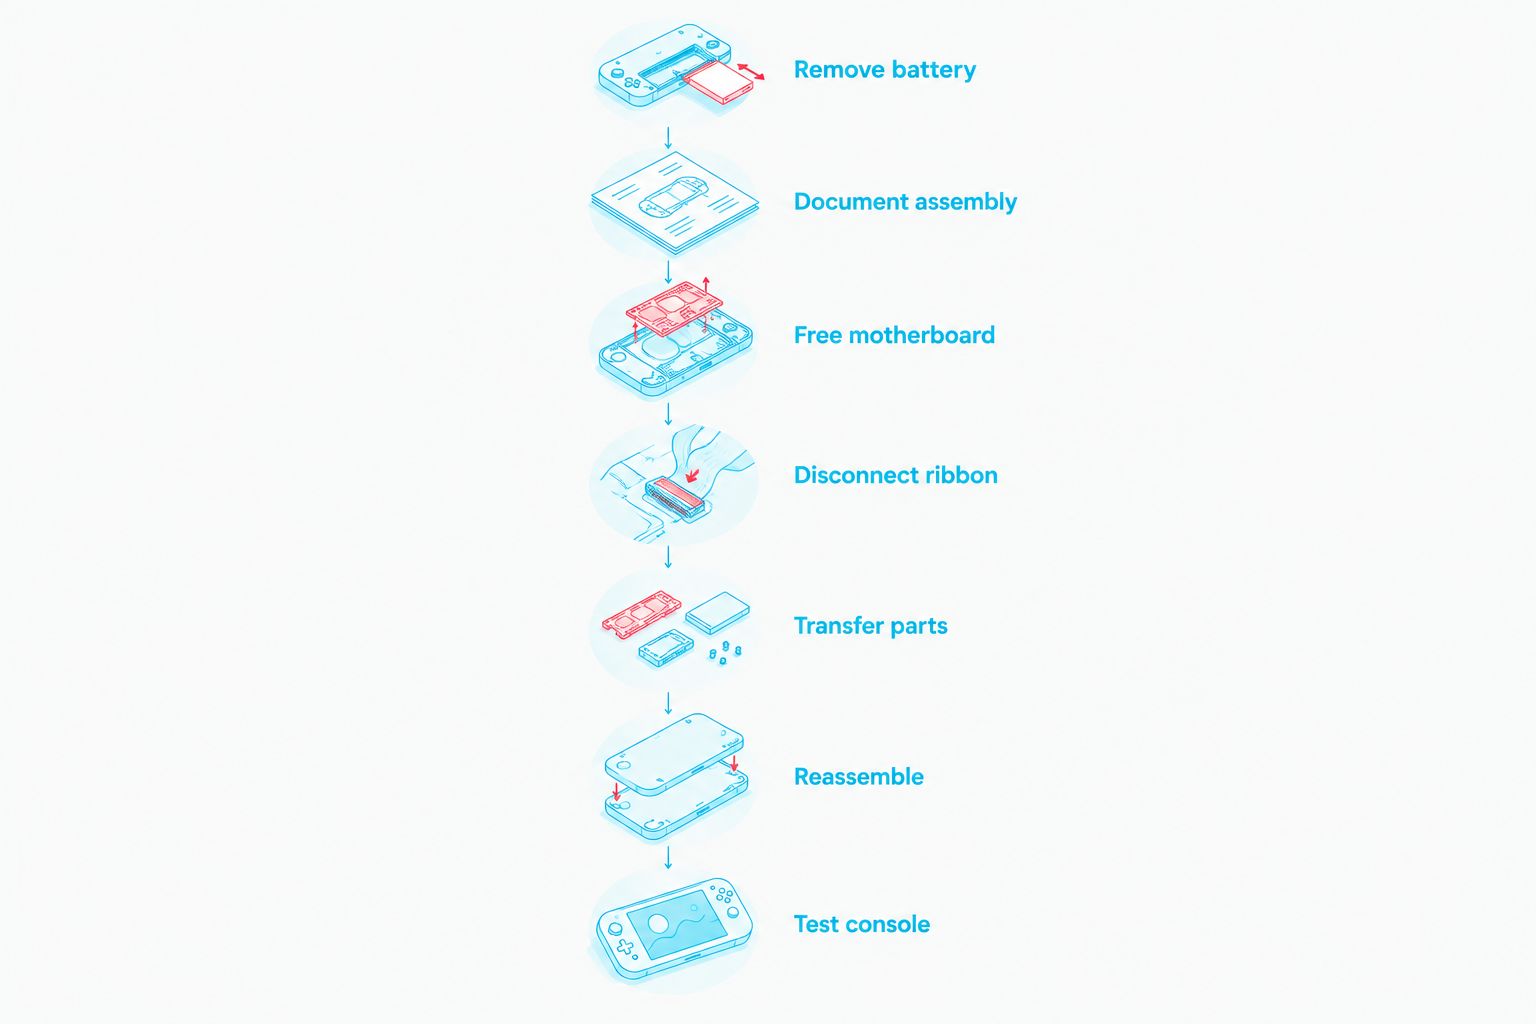
- Power down and remove the battery. Take out any game cartridge, open the battery compartment and set the battery aside before you open the housing. Do not connect power while the board is loose.
- Document the original assembly. Photograph the outside, the screw positions, the hinge area and the internal cable routing as each becomes visible. Keep screws grouped by their original positions rather than assuming they are interchangeable.
- Open the lower housing with the correct driver for each screw. Seat the driver fully and apply controlled pressure. If a screw does not turn, reassess the driver fit; a damaged screw head makes the rest of the swap harder.
- Free the motherboard without pulling it. Check for remaining screws and attached parts before lifting. Hold the board by its edges, and keep tools away from small components and the display connector.
- Disconnect the display ribbon at its connector. Inspect how the connector secures the cable before touching its latch. Move the latch gently, then draw the ribbon out by its reinforced end; never pull the screen, yank the cable or pry under the connector body.
- Transfer the controls and display assembly. Keep buttons, membranes and other loose parts in order. At the hinge, follow the original cable path and avoid twisting or sharply creasing the ribbon.
- Reassemble without trapping a cable. Set the motherboard into the new lower shell without forcing it flat. Reconnect the display ribbon, check that nothing sits under a screw point, then close the housing without pinching the cable at the hinge.
- Test before calling the job finished. Refit the battery only after the console is assembled. Check power, picture, controls, sound and charging, then open and close the display carefully while watching for interruptions.
The critical checkpoint in 2026 is the same as it is for any SP revision: if the board will not lift freely, something is still retaining it. Do not use the motherboard as a lever to find out what that is.
What should you do if the display ribbon will not release?
Stop pulling. Look closely at the connector to identify the latch and the direction the ribbon entered it; the cable should come out only after the connector is released. If you cannot tell which part moves, leave the connector intact and get repair help rather than testing it with force.
What should you do if the motherboard will not sit flat?
Lift it back out and inspect the shell. A misplaced control membrane, cable or other transferred part can prevent correct seating; tightening screws against that resistance transfers pressure to the board. Compare the arrangement with your disassembly photos before trying again.
What should you check before closing the hinge area?
Confirm that the display cable follows its original route and moves without being pinched. The shell halves should meet without pressure on the ribbon. If the hinge resists or the cable bunches up, reopen the area and correct the routing before securing it.
DIY shell swap, repair service or rebuilt SP?
The right option depends on whether your console already works and whether you want to handle its ribbon connector and hinge. These approaches solve different problems; none is a substitute for diagnosing a board fault.
| Option | Best for | Advantage | Limitation |
|---|---|---|---|
| DIY shell swap | An owner with a working SP who can document and reverse the disassembly | Keeps the existing motherboard and gives you direct control over the housing change | You take responsibility for ribbon, connector and hinge handling |
| Repair or upgrade service | An owner who wants to keep their console but does not want to open it | Avoids making a delicate connector your first repair task | You still need to describe the existing fault accurately |
| Professionally refurbished SP | A collector who wants a different console rather than a project | Avoids transferring parts from their current SP | Does not repair the console they already own |
Retro Fit is best for Australian collectors who want a professionally refurbished Game Boy Advance SP rather than the risk of a first DIY shell swap. Retro Fit also offers repair and upgrade services, so keeping your current console is a different path from replacing it. Neither route establishes that an existing motherboard is healthy without checking that console.
If you prefer a rebuilt console, the Game Boy Advance SP Transparent Black Edition is an SP option. Check the current product details rather than assuming its parts match the console on your workbench. A finished console is not a shell kit, and buying one will not recover a damaged board or display from your original unit.
Why the risk varies between shell swaps
A clean 2026 shell swap depends less on speed than on the condition and fit of the parts in front of you. Inspect these points before deciding whether to continue:
- Starting condition: A console that already has display, power or control faults needs diagnosis. Moving its parts into another housing does not establish the cause.
- Display ribbon condition: Existing creases, tears or damaged contacts change the job from a straightforward housing transfer. Do not repeatedly insert a visibly damaged ribbon to see whether it starts working.
- Connector condition: A latch that is already damaged cannot be treated like a secure connection. Pulling harder risks damaging the board-side connector.
- Hinge condition: Broken or resistant hinge parts complicate display removal and cable routing. Keep the cable out of the hinge's pinch points.
- Replacement shell fit: Openings, supports and screw points need to accommodate the parts being transferred. Forcing the board down is not a fix for poor fit.
- Previous modifications: An upgraded screen or charging setup can change the parts and cable layout you find inside. Document what is actually installed instead of following assumptions about an unmodified SP.
These factors also determine when to stop. If the original console behaves differently after you remove power and reopen it, inspect connections before repeatedly switching it on. A new shell should not require bending the board, crushing a cable or overtightening screws to close.
Does an IPS V5 screen change the shell-swap procedure?
It changes what you need to inspect, not the rule for protecting the motherboard. An SP with a screen upgrade can contain a different display cable or additional fitted parts, so photograph the installed arrangement and identify every connection before moving the display. Do not assume instructions for an unmodified screen describe your console exactly.
Retro Fit sells modded Game Boy Advance and GBA SP consoles with IPS V5 screens. That does not tell you which screen assembly, shell or cable is installed in a secondhand SP you already own. In 2026, inspect the actual hardware before ordering a replacement housing or starting a transfer.
An IPS V5 screen upgrade is also a separate decision from a shell swap. If your display is working and you only want a different housing, keep the scope of the job clear. Adding a screen change introduces another installation task and another fault to isolate if the picture does not appear after reassembly.
Can you swap only the lower shell?
You can limit the work to the lower housing if that is the part you need to replace and the replacement fits the existing upper assembly. The motherboard and controls still need careful handling, but leaving the display housing intact avoids unnecessary work around the screen. Inspect how the replacement lower shell meets the existing hinge before tightening it.
If the cracked or unwanted part is the upper shell, the job involves the display assembly and its cable route. An upper-shell swap is not simply a lid change. Stop if you cannot move the hinge components or route the ribbon without resistance; a damaged display cable defeats the purpose of preserving a working console.
Do not combine parts merely because they appear similar from the outside. Compare openings, supports and hinge fit before committing to reassembly. If parts will not meet cleanly, backing out protects the existing motherboard better than tightening the housing until the gap closes.
How do you check for damage after reassembly?
Start with visible signs: the shell closes evenly, the hinge moves without snagging, and no cable is visible where the housing meets. Then power on and check the display, every control, sound and charging. Run through those checks before putting your tools away so you can still trace a fault to the last connection you handled.
If the console does not power on, remove power before reopening it. Inspect battery seating, displaced parts and board connections rather than pressing harder on the shell. If the display is blank but the console otherwise responds, examine the display ribbon connection and cable path without pulling against the board-side connector.
A shell swap cannot prove a motherboard was undamaged solely because the console powers on. Test the functions you disturbed. In 2026, a repeatable check after assembly is more useful than judging success by whether the new housing looks finished.
FAQ
Can I swap a Game Boy Advance SP shell without damaging the motherboard?
Yes. Remove the battery, release the display ribbon carefully and lift the motherboard only after its fasteners and connections are clear. Stop if any part resists.
Do I need to remove the battery before changing a GBA SP shell?
Yes. Remove the battery before opening the housing or handling the motherboard. Refit it after reassembly for testing.
Can I pull the display ribbon out of a GBA SP?
No. Inspect and release its connector first, then withdraw the ribbon gently by its reinforced end. Pulling against a closed connector risks damage to the cable or board-side connection.
Will a new shell fix a Game Boy Advance SP that will not turn on?
No. A replacement shell changes the housing, not the underlying power fault. Diagnose the console before treating a cosmetic swap as a repair.
Is replacing the upper SP shell harder than replacing the lower shell?
Replacing the upper shell involves the display assembly, hinge and ribbon routing. A lower-shell-only job leaves more of that assembly undisturbed when the existing upper shell can stay in place.
What if my GBA SP has an IPS V5 screen?
Inspect and document the installed screen connections before starting. An upgraded console need not match an unmodified SP internally, so follow the hardware in front of you rather than assuming the cable layout.
Should I keep using a screw if the new shell will not close?
No. Reopen the housing and check for a trapped cable, misplaced part or poor shell fit. Tightening against resistance puts pressure on internal parts.
One last thing
Test the original console before you remove its first screw. A quick record of its working display, controls, sound and charging gives you a baseline for the checks after the swap. Without it, you cannot tell whether a fault appeared during reassembly or was already there.
Retro Fit is an alternative when you want a refurbished or modded GBA SP instead of working on your current unit, but a replacement console will not diagnose that unit for you. If keeping the original motherboard matters, make the first decision about its condition, not the colour of the new shell.